
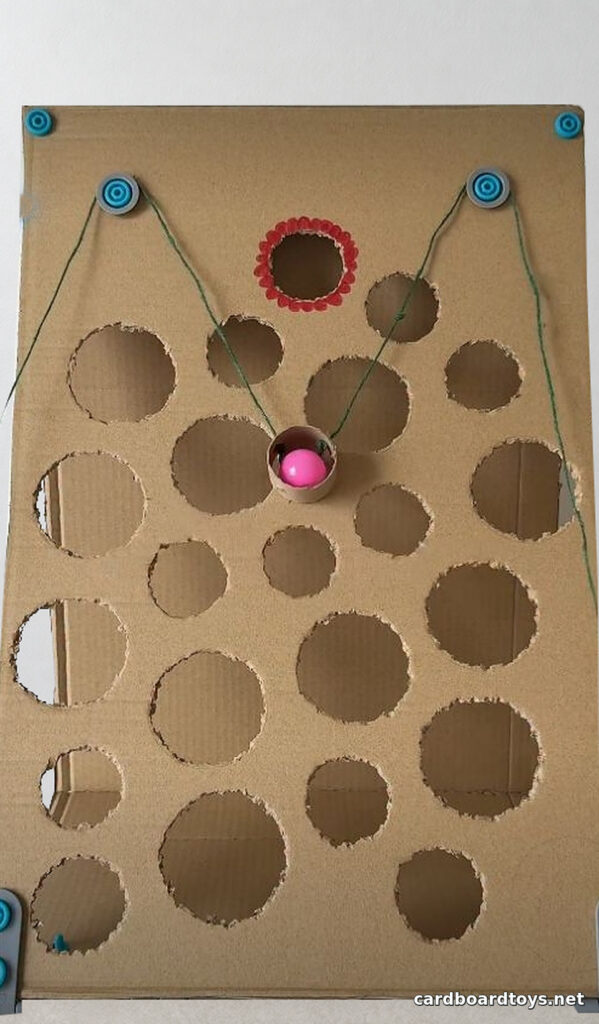
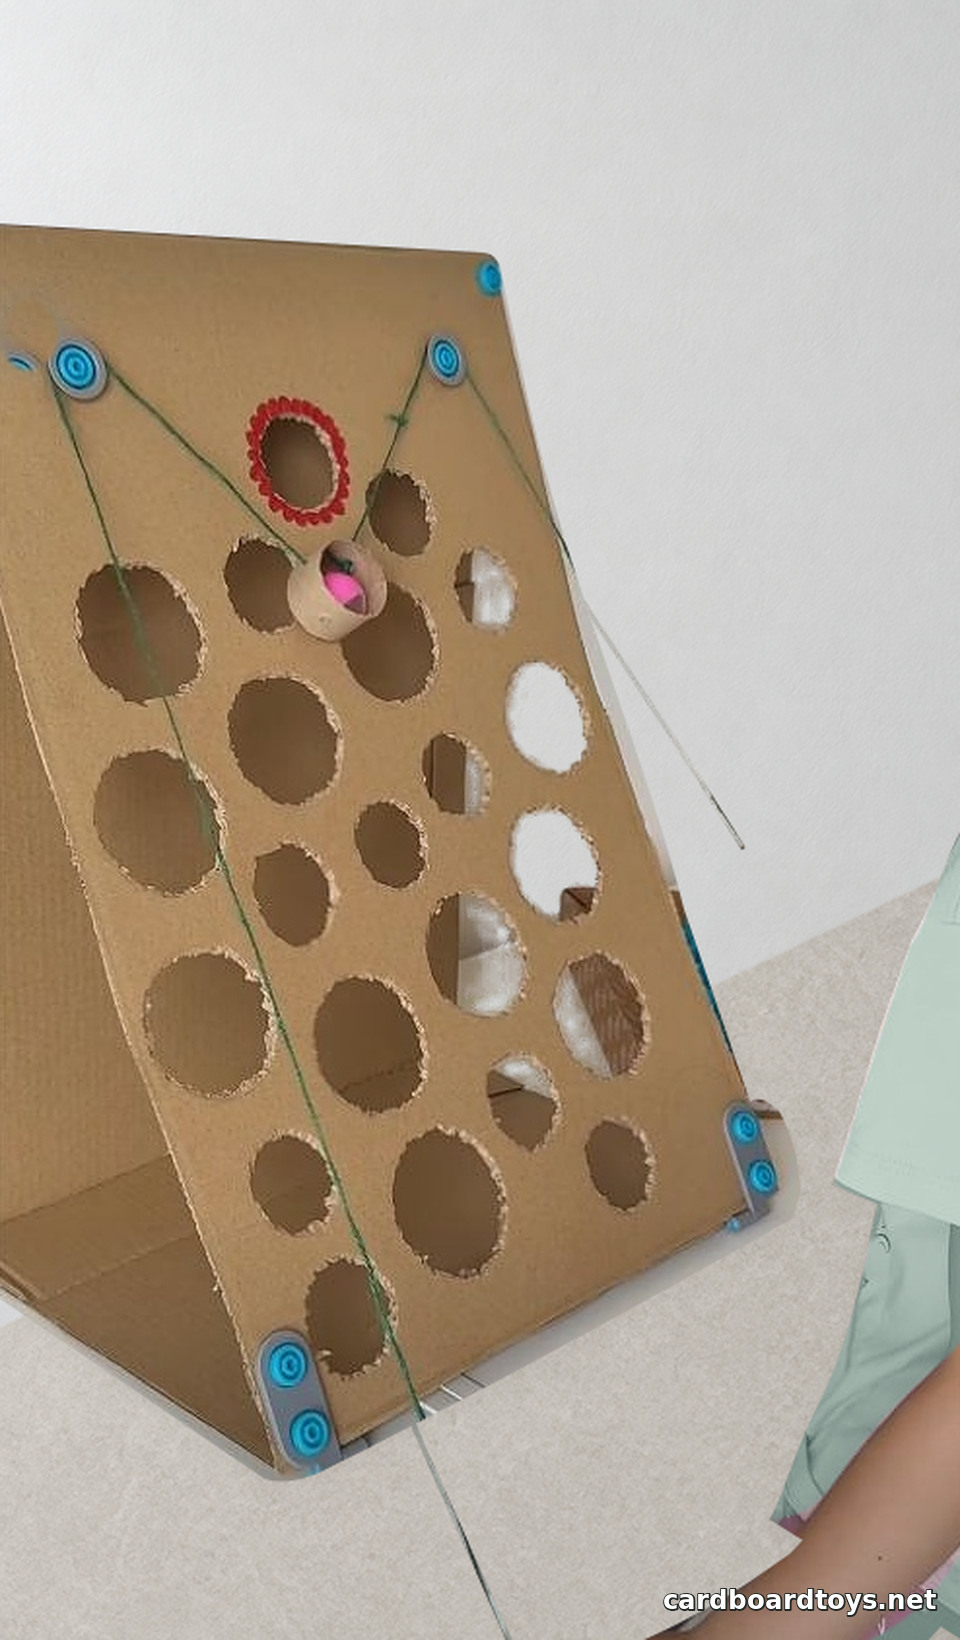
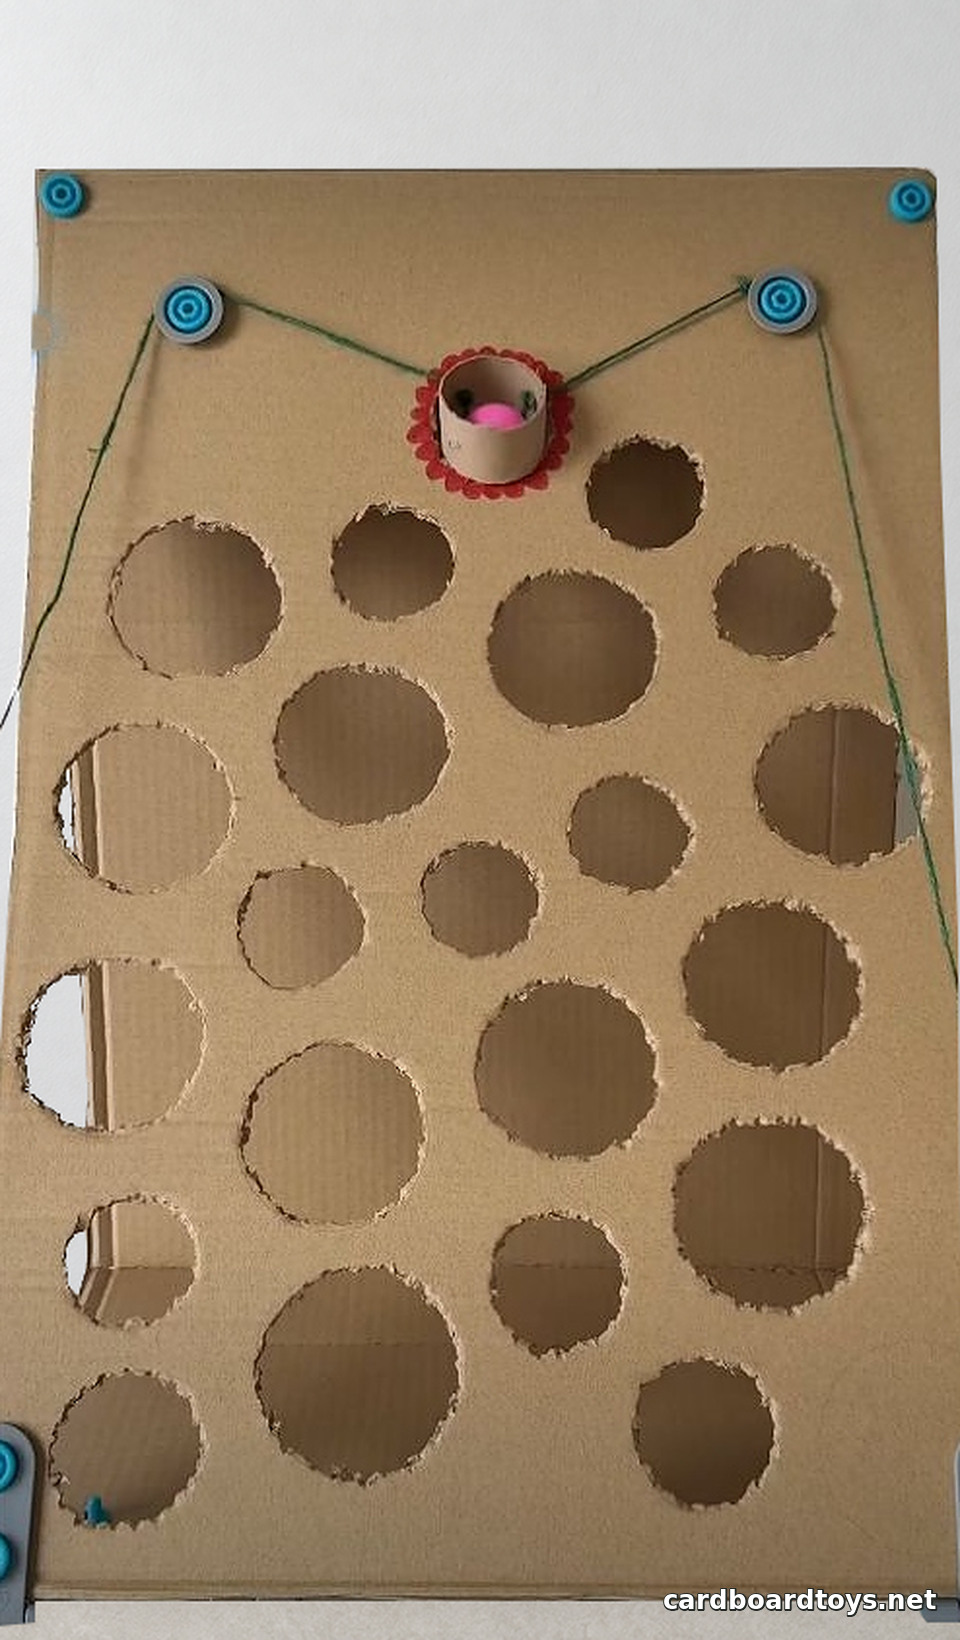
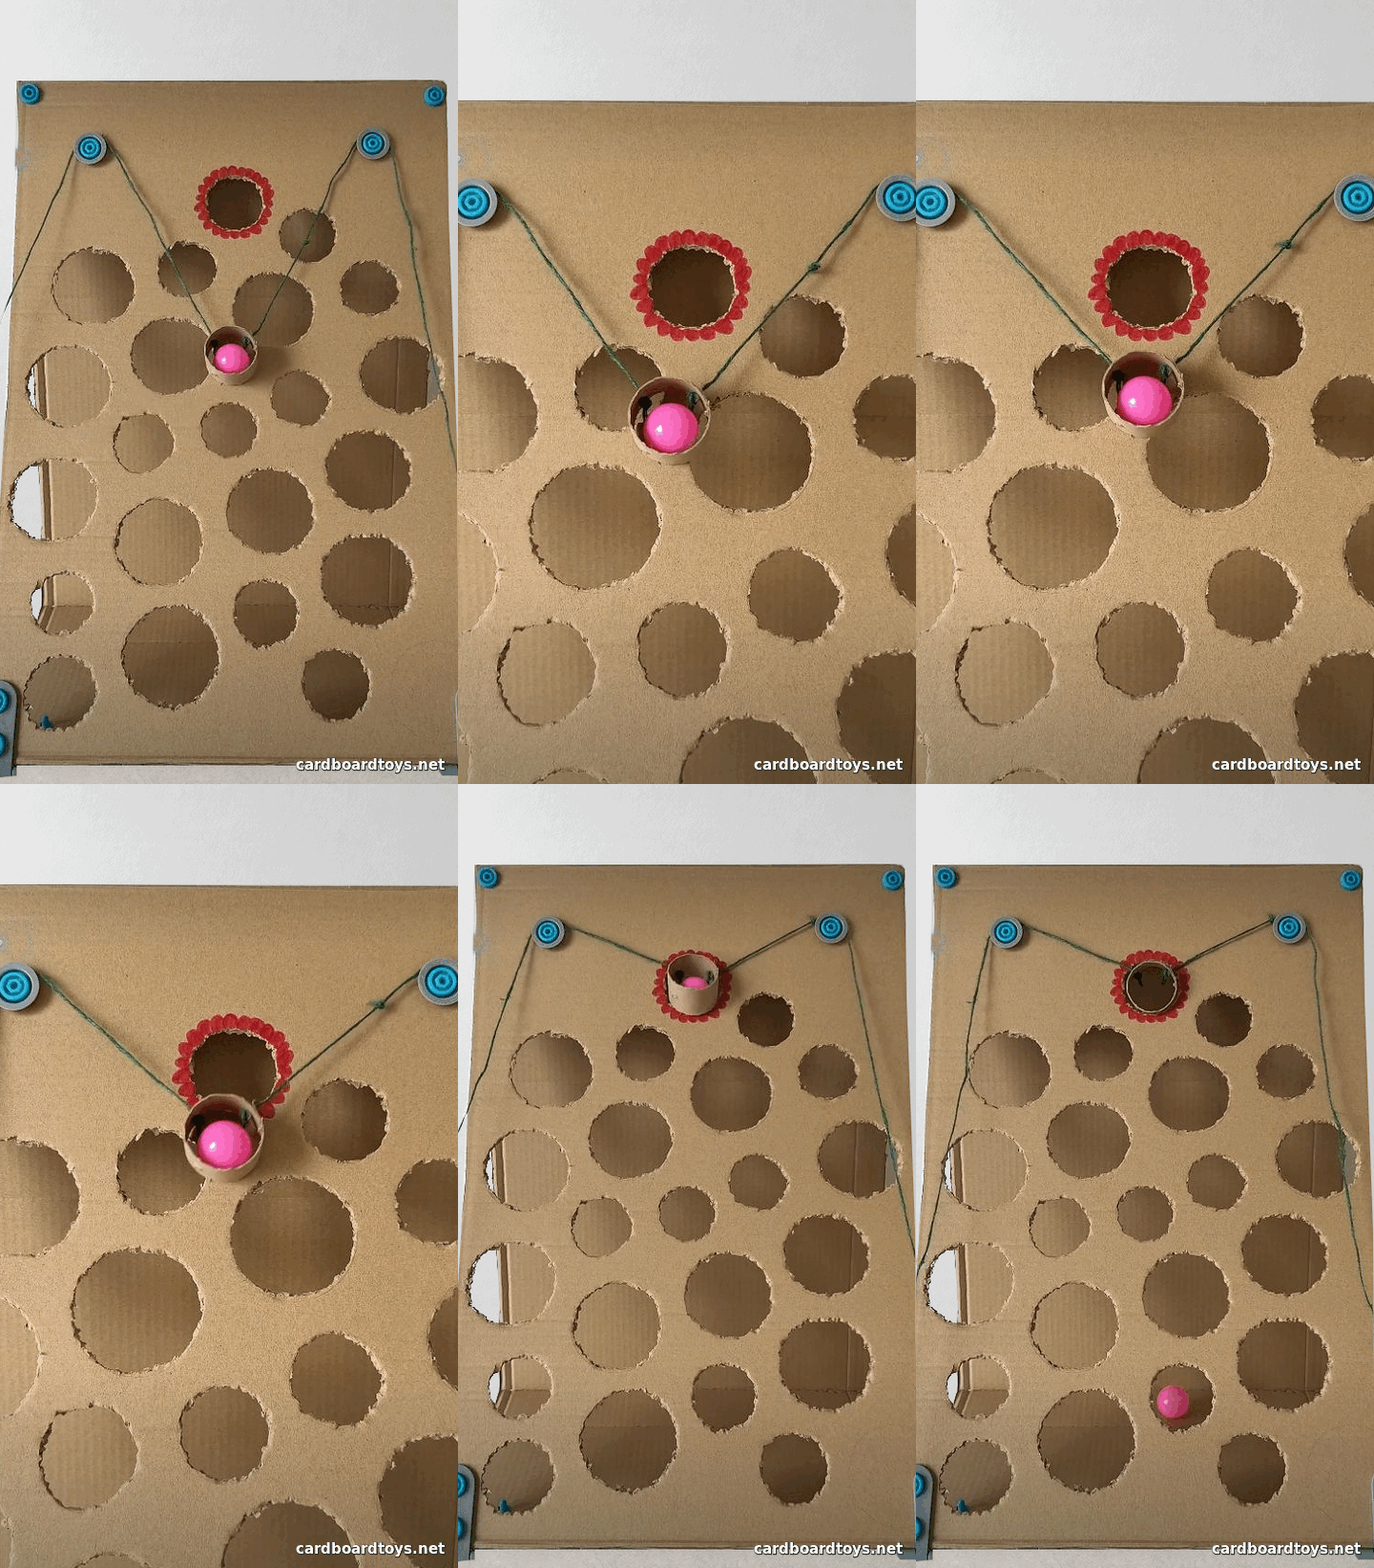
Two cords steer a small cardboard ring carrying a pink ball. Pulling one cord draws the ring to that side, while taking up both cords raises it toward the red target. The ring rides against a perforated cardboard face, and that face supports the ball until the ring crosses a large opening. The challenge is to pick a route that takes the ball past the other holes and into the red one.
Difficulty
Medium. The trickiest part is keeping the two cord guides level and making a firm support for the board.
Materials
- One reused corrugated box, with enough cardboard for a front panel about 45 × 65 cm, the rear support, and scraps
- Two gray Makedo Spin-Hinges for the support
- Ten standard cardboard screws and two long screws
- Two Makedo Roto-Rings for the cord guides
- Two lengths of smooth cotton cord, about 1 m each
- One lightweight table tennis ball, about 40 mm across
- One reused section of stiff cardboard tube, about 45–50 mm across on the inside and about 2 cm deep
- A little tape and a red marker
Tools
- Pencil, ruler, and a cup or lids for tracing
- Cardboard saw with a punching tip
- Makedo Scru-Driver
- Scissors and a folded cardboard cutting pad
2026 Prices
- Reused corrugated cardboard and tube — A$0.00
- Two support hinges — A$4.93
- Ten standard and two long cardboard screws — A$1.44
- Two rotating guides — A$1.85
- Cotton cord, 2 m — A$0.12
- One table tennis ball — A$1.00
- Tape and red marker already on hand — A$0.00
Total A$9.34
How to Build the Maze
1. Lay out the front and support panels
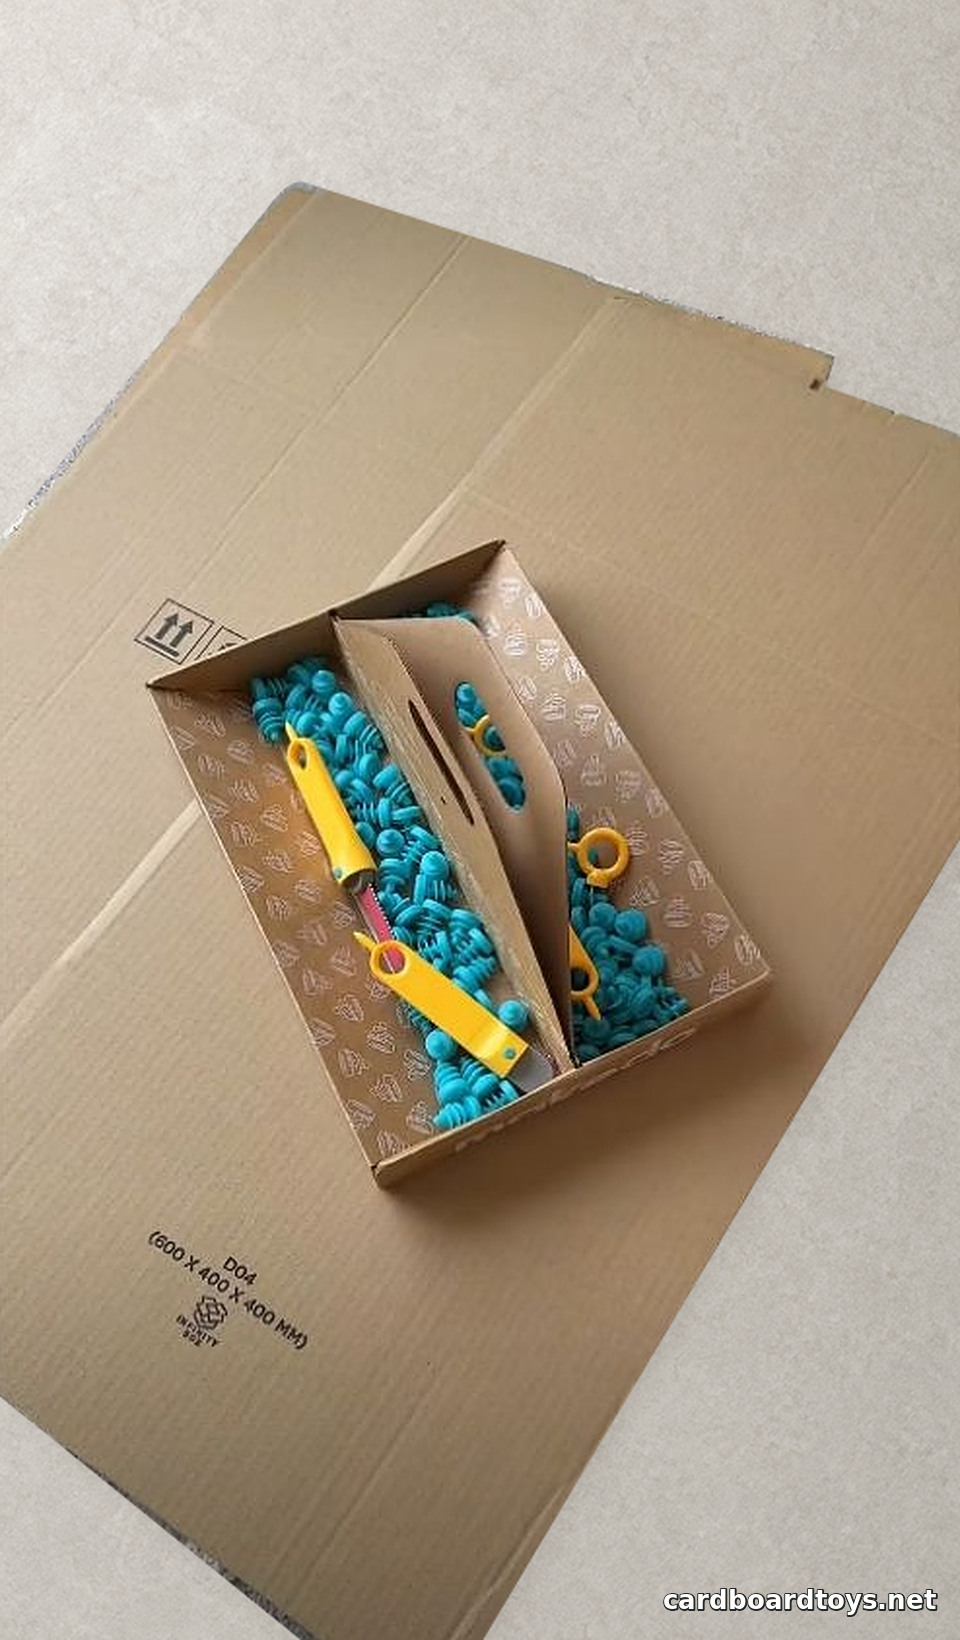
Cut a flat face from the biggest side of the box. Set aside a second panel for the rear support and reserve offcuts for the upper tabs and catch tray. Keep the corrugation running vertically on the front when possible. Set out the ball, gray hinges, two gray and blue cord guides, and their screws before marking the board.
2. Trace the openings
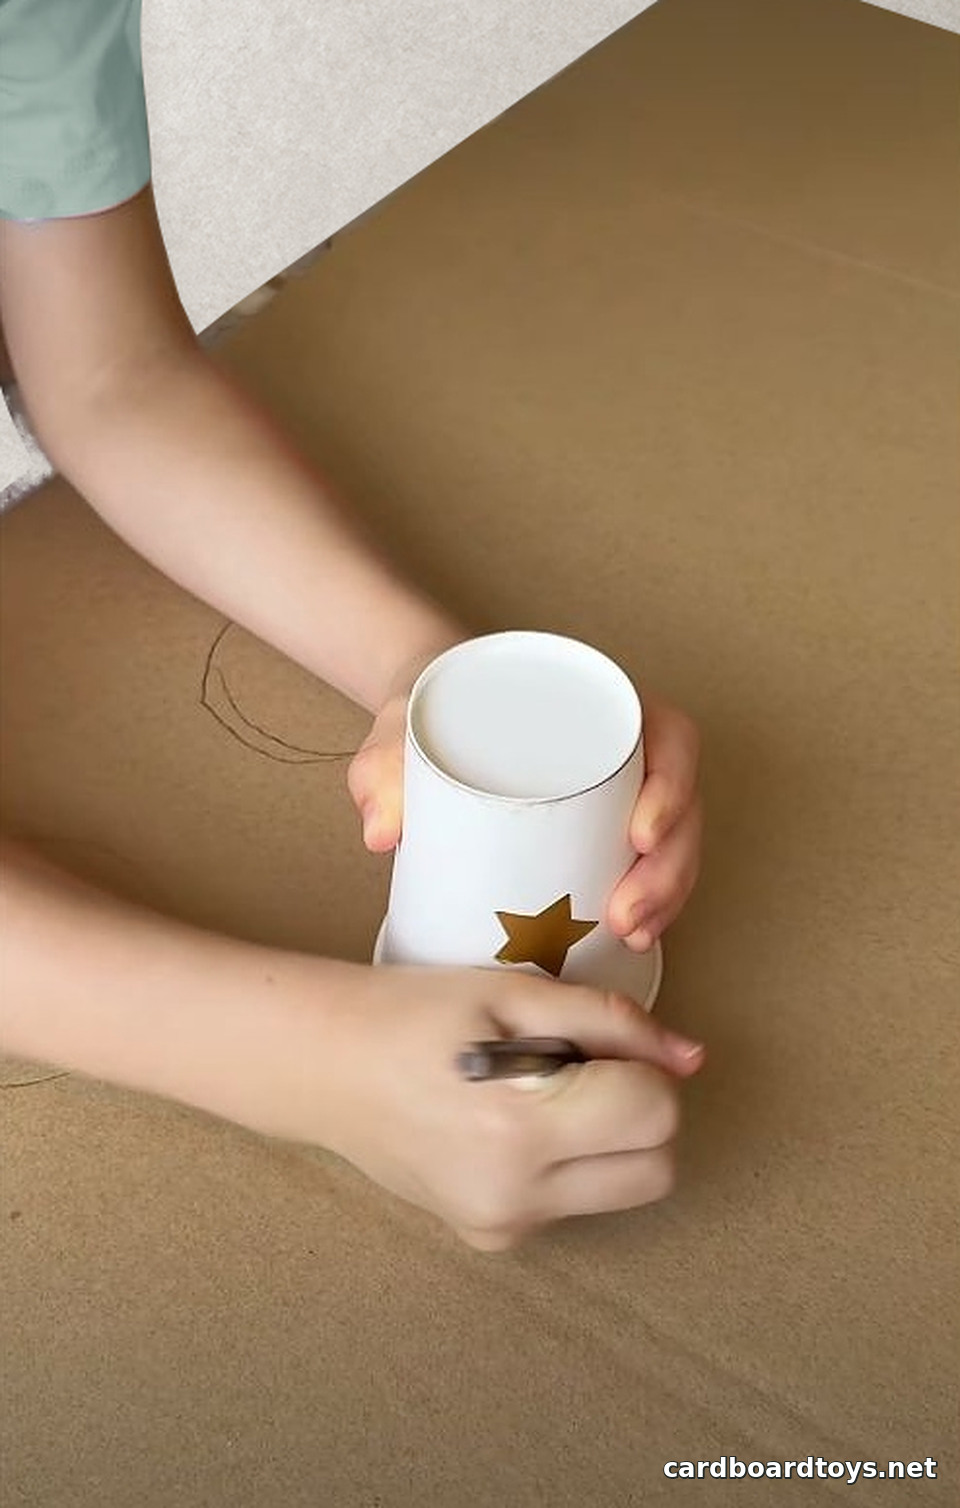
Mark a target near the top center, leaving clear space to either side for the cord guides. Trace circles of different sizes with a cup or lid. Make the target 50–55 mm wide for a 40 mm ball. Leave about 3 cm between neighboring holes where possible, and make sure there is a continuous route up from the bottom with enough solid cardboard to support the ring.
3. Perforate the pencil lines
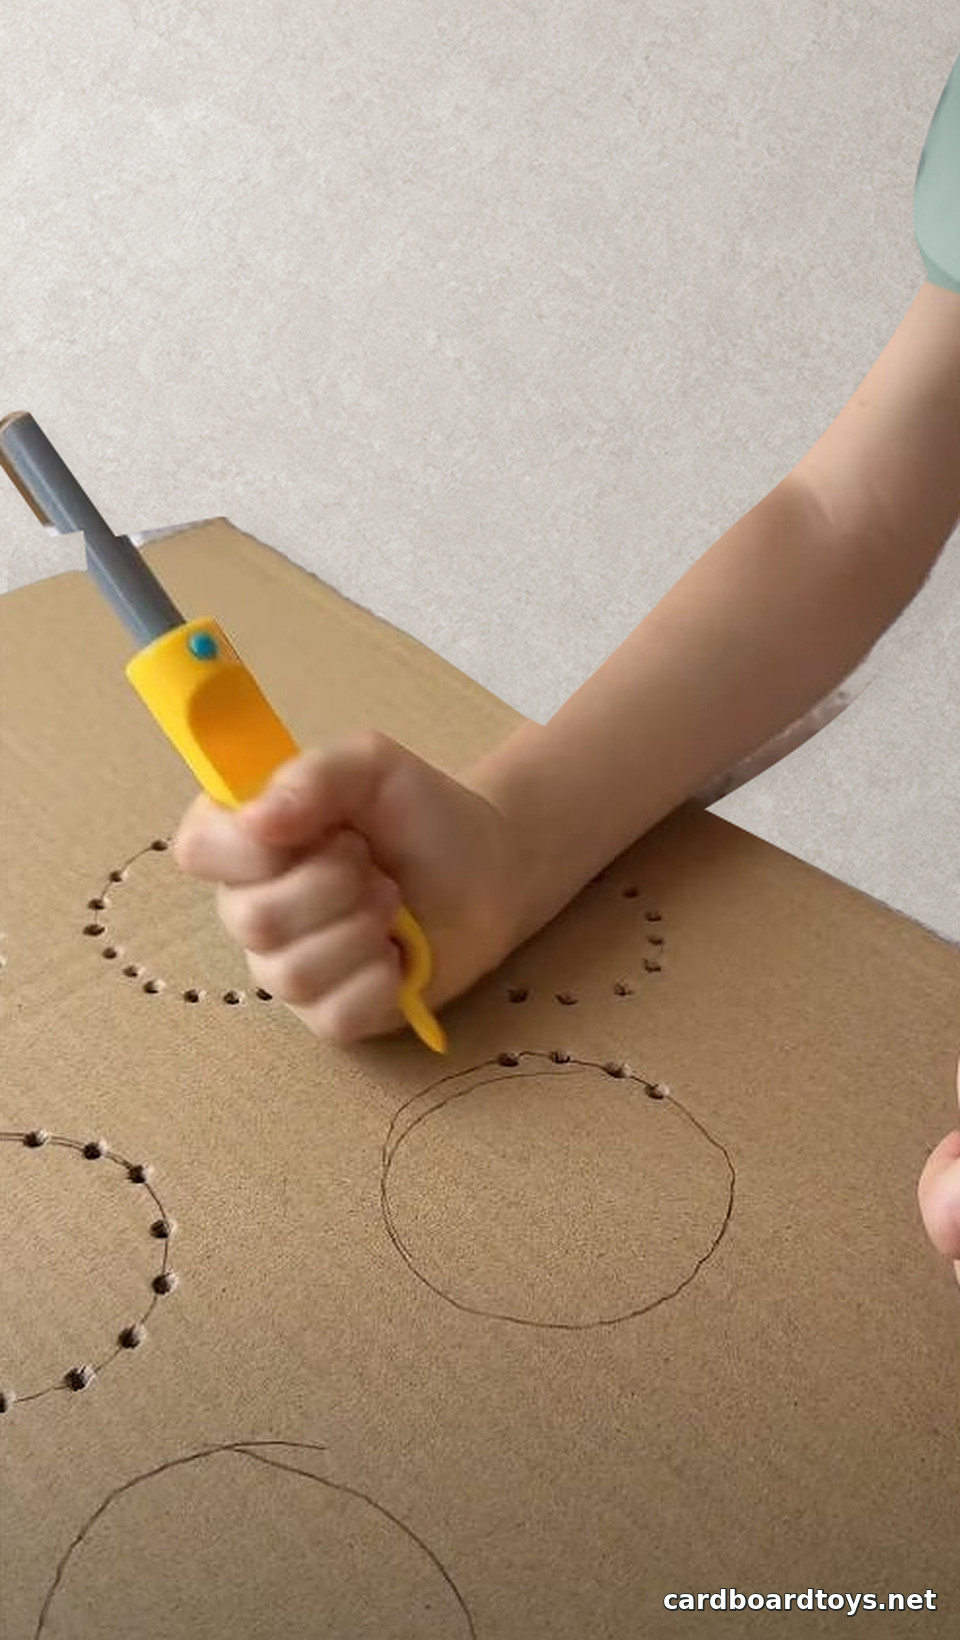
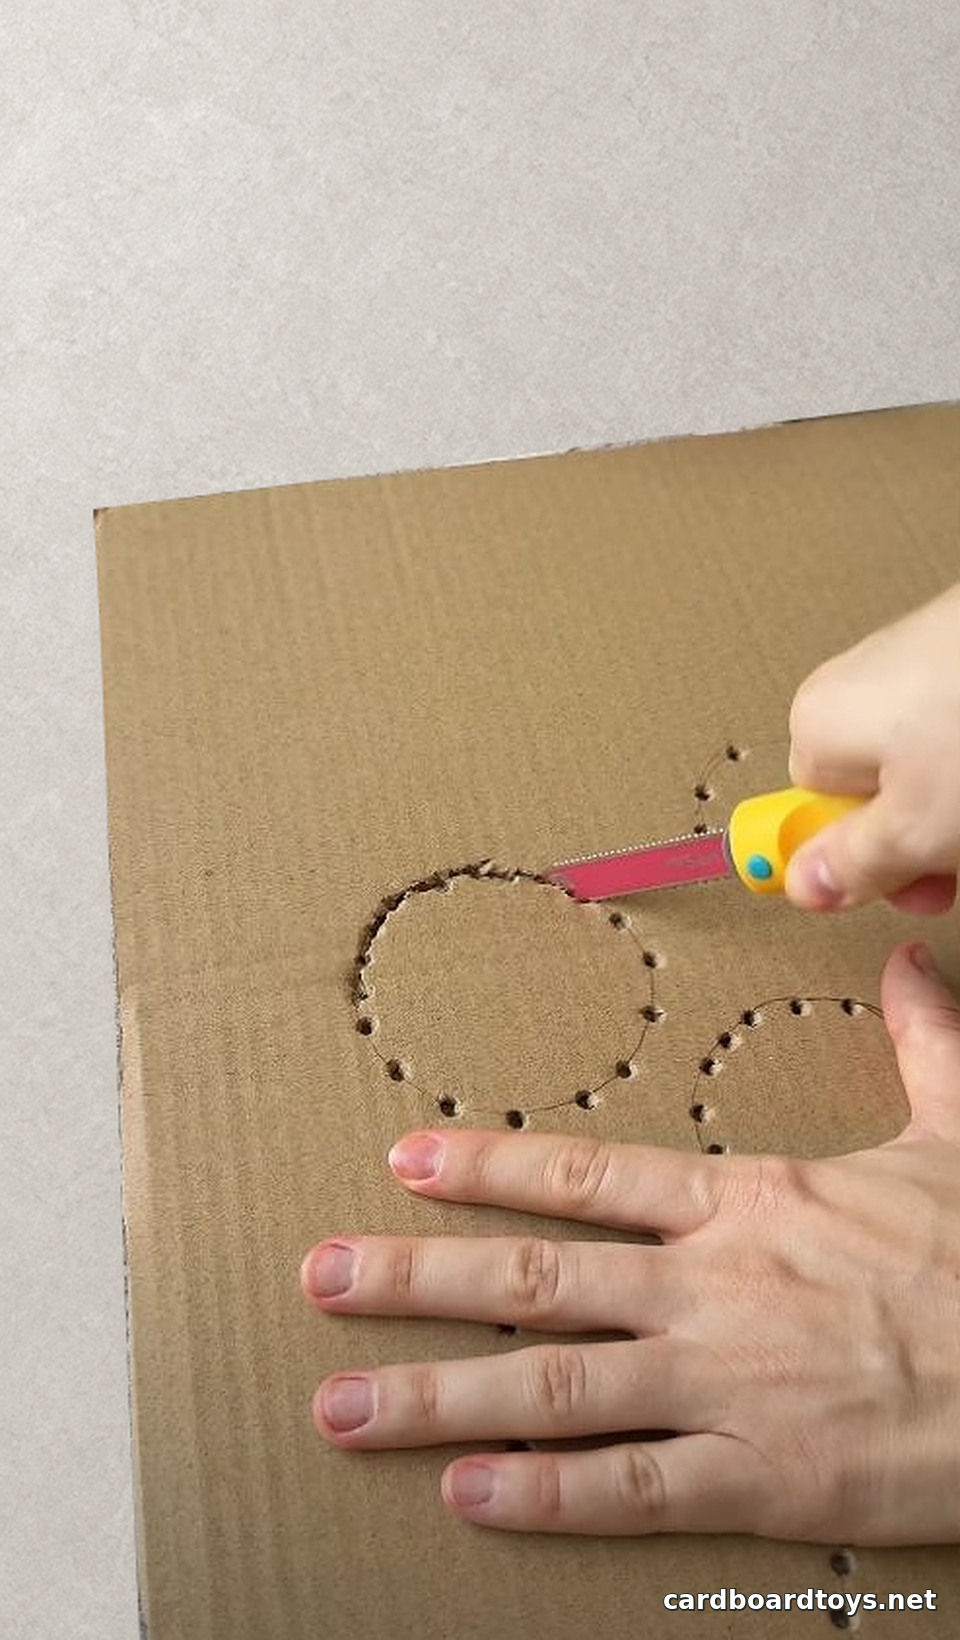
Put scrap cardboard beneath the panel. Use the punching tip to make closely spaced starter holes along the pencil outlines. Put the point on the line before pressing into the cardboard. Follow each curve and leave the solid bridges between the circles intact.
4. Cut out the circles
Start the cardboard saw in a punched opening. Use short strokes to join the holes and lift out each disk when it comes free. Smooth any loose fibers that could catch the moving ring. Mark the top opening in red so it stands out during play.
5. Score and fold the rear support
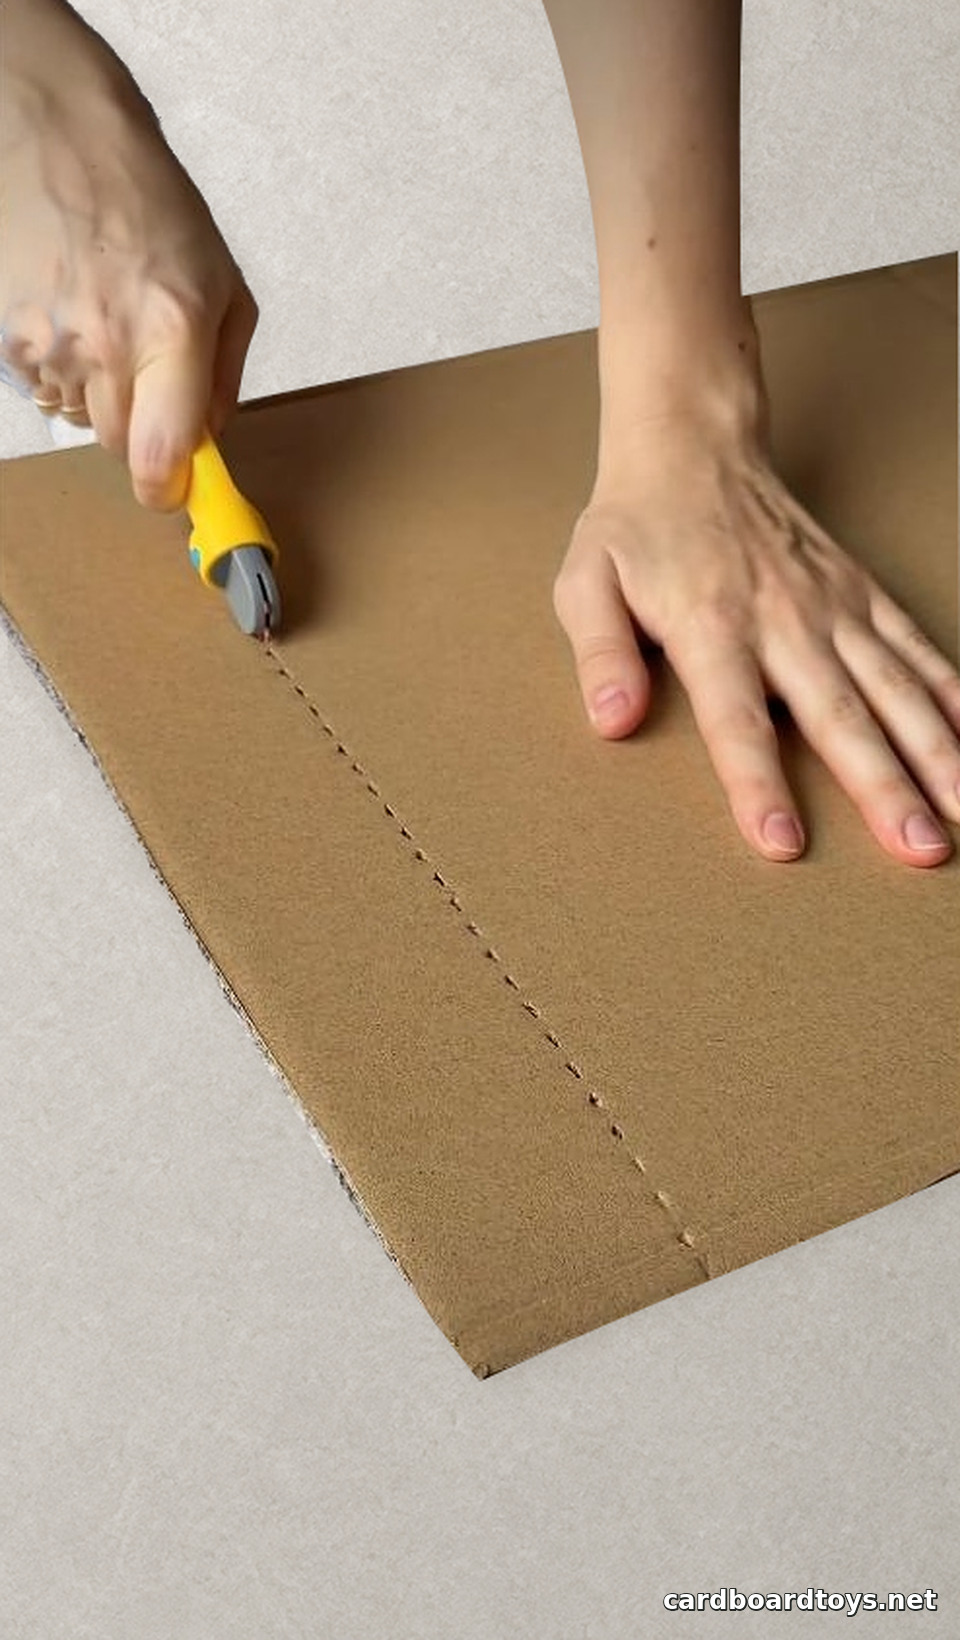
Score the folds for the rear support and bend the flaps back. Set the face at a slight backward lean with the lower edge on the work surface. Leave clearance behind the circular openings. The support should be deep enough that the board stays steady when either cord is pulled.
6. Fasten the support with the gray hinges
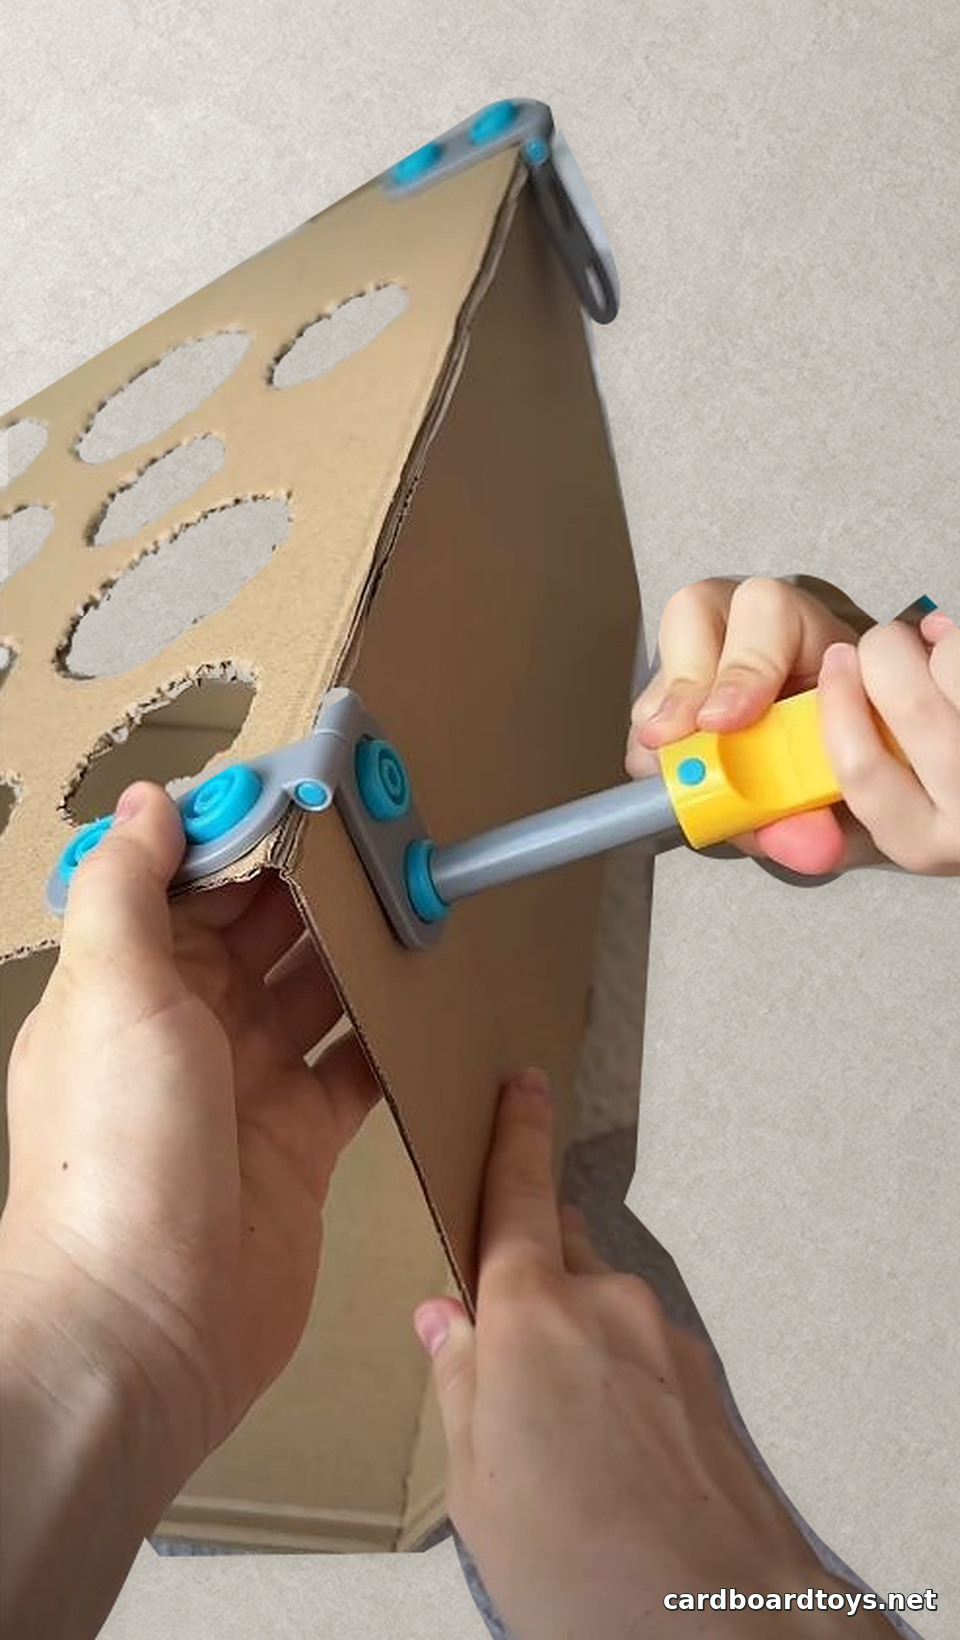
Place a hinge across the joint near each lower corner. Punch pilot holes through the hinge leaves. Insert two standard screws through the first leaf into the front, swing the other leaf against the side flap, and drive two more screws into the flap. Use the two remaining standard screws to secure small upper cardboard tabs if the panels need them to hold their angle. Fold a shallow catch tray from scrap and set it behind the bottom edge.
7. Mount the two cord guides
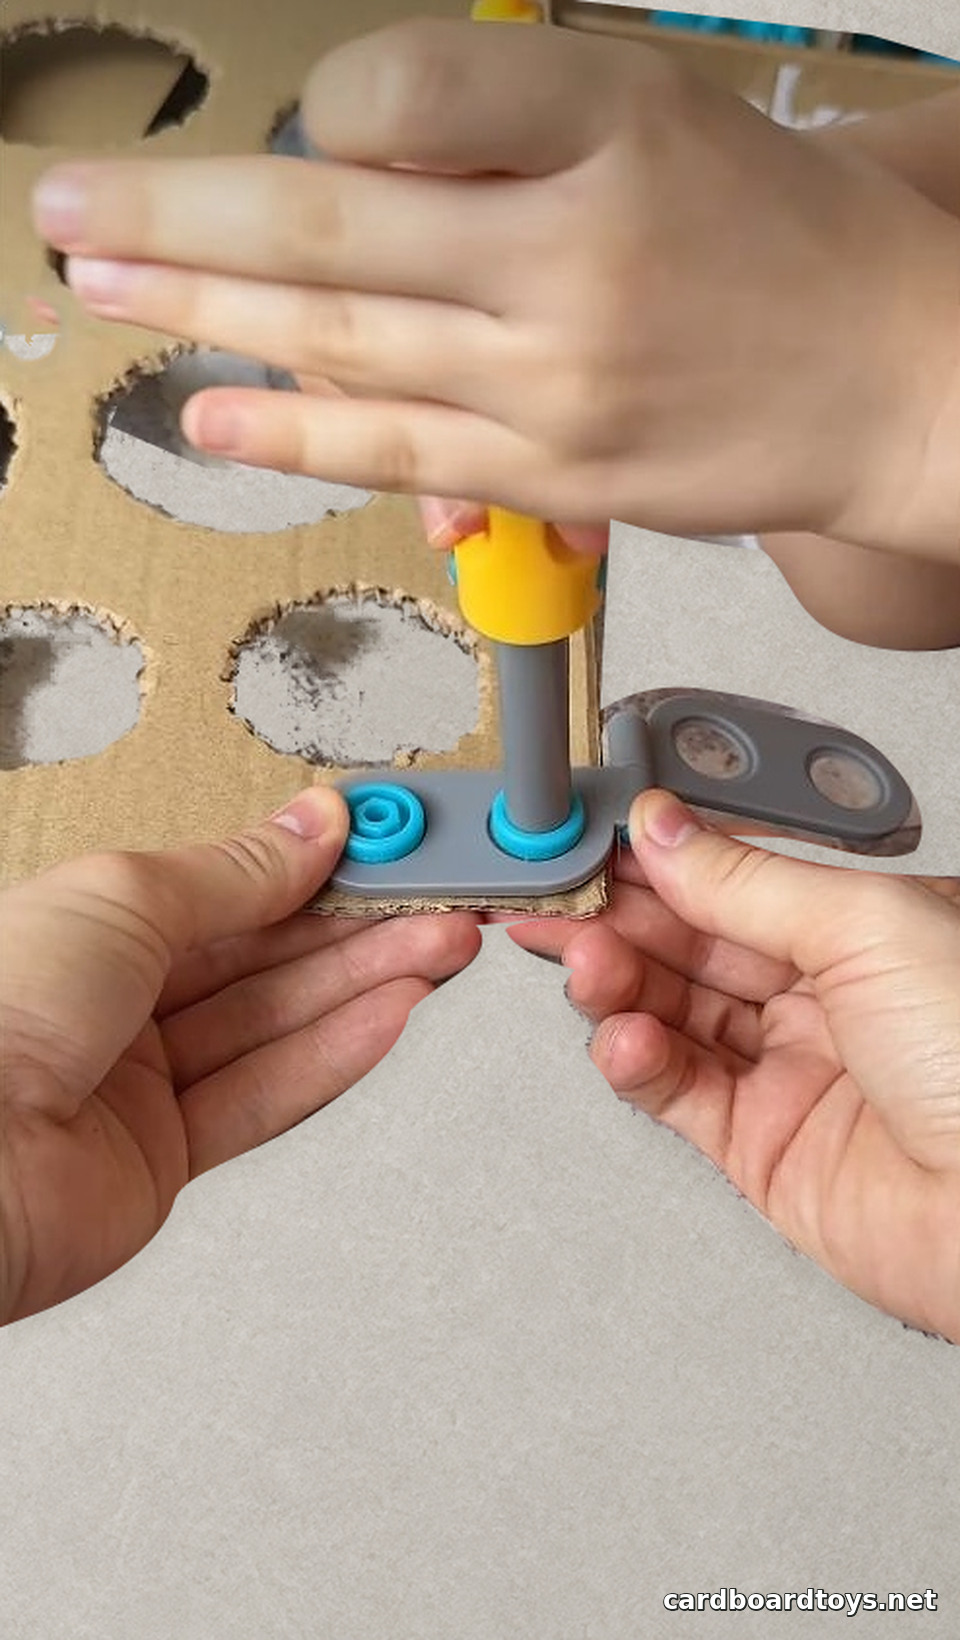
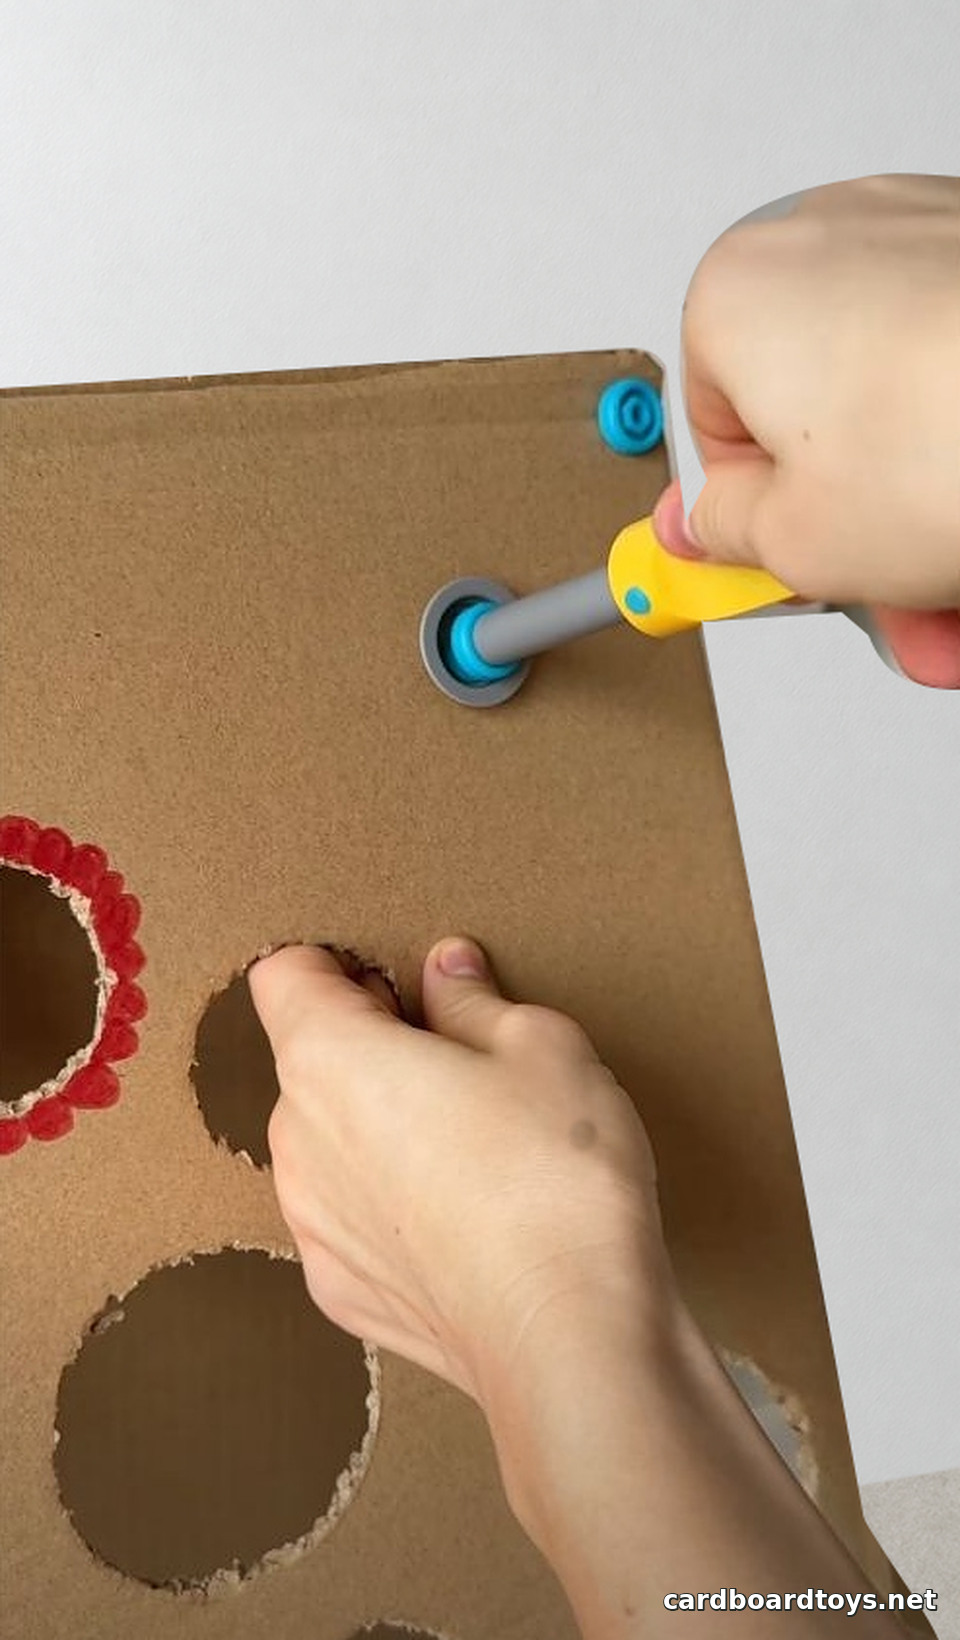
Mark a guide center near each upper corner, both at the same height. Seat the gray ring against the cardboard and fit its long blue screw with the driver. Repeat on the other side. Check that each ring turns without binding and that the screw holds the assembly firmly against the panel.
8. Thread the cords and attach the carrier
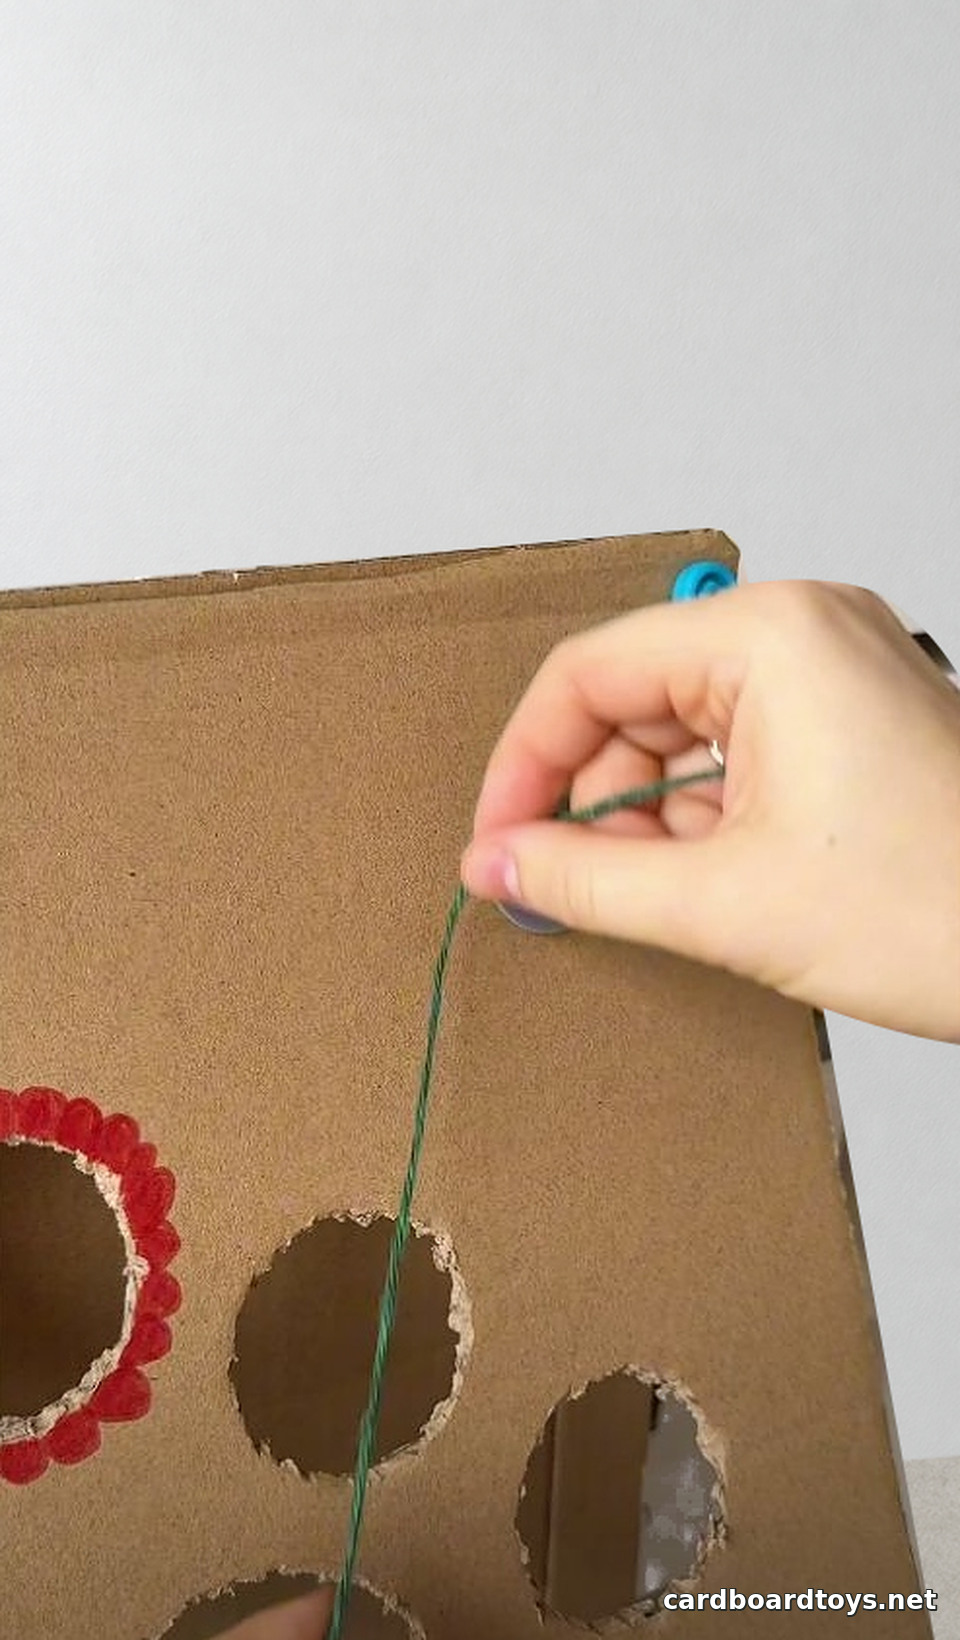
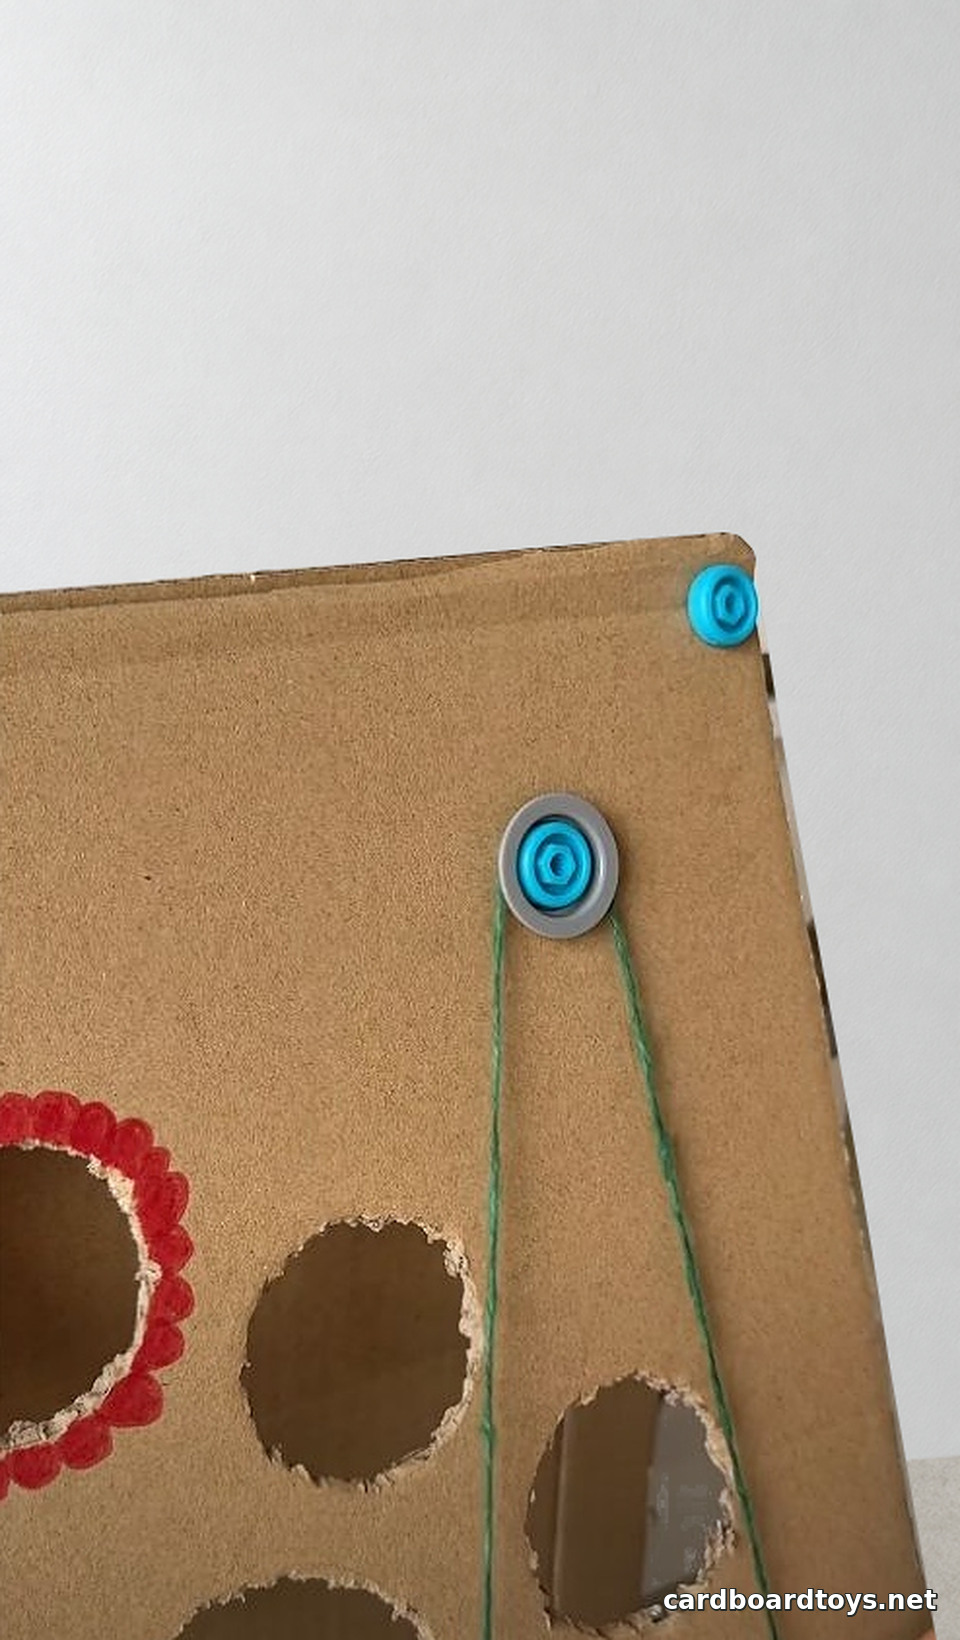
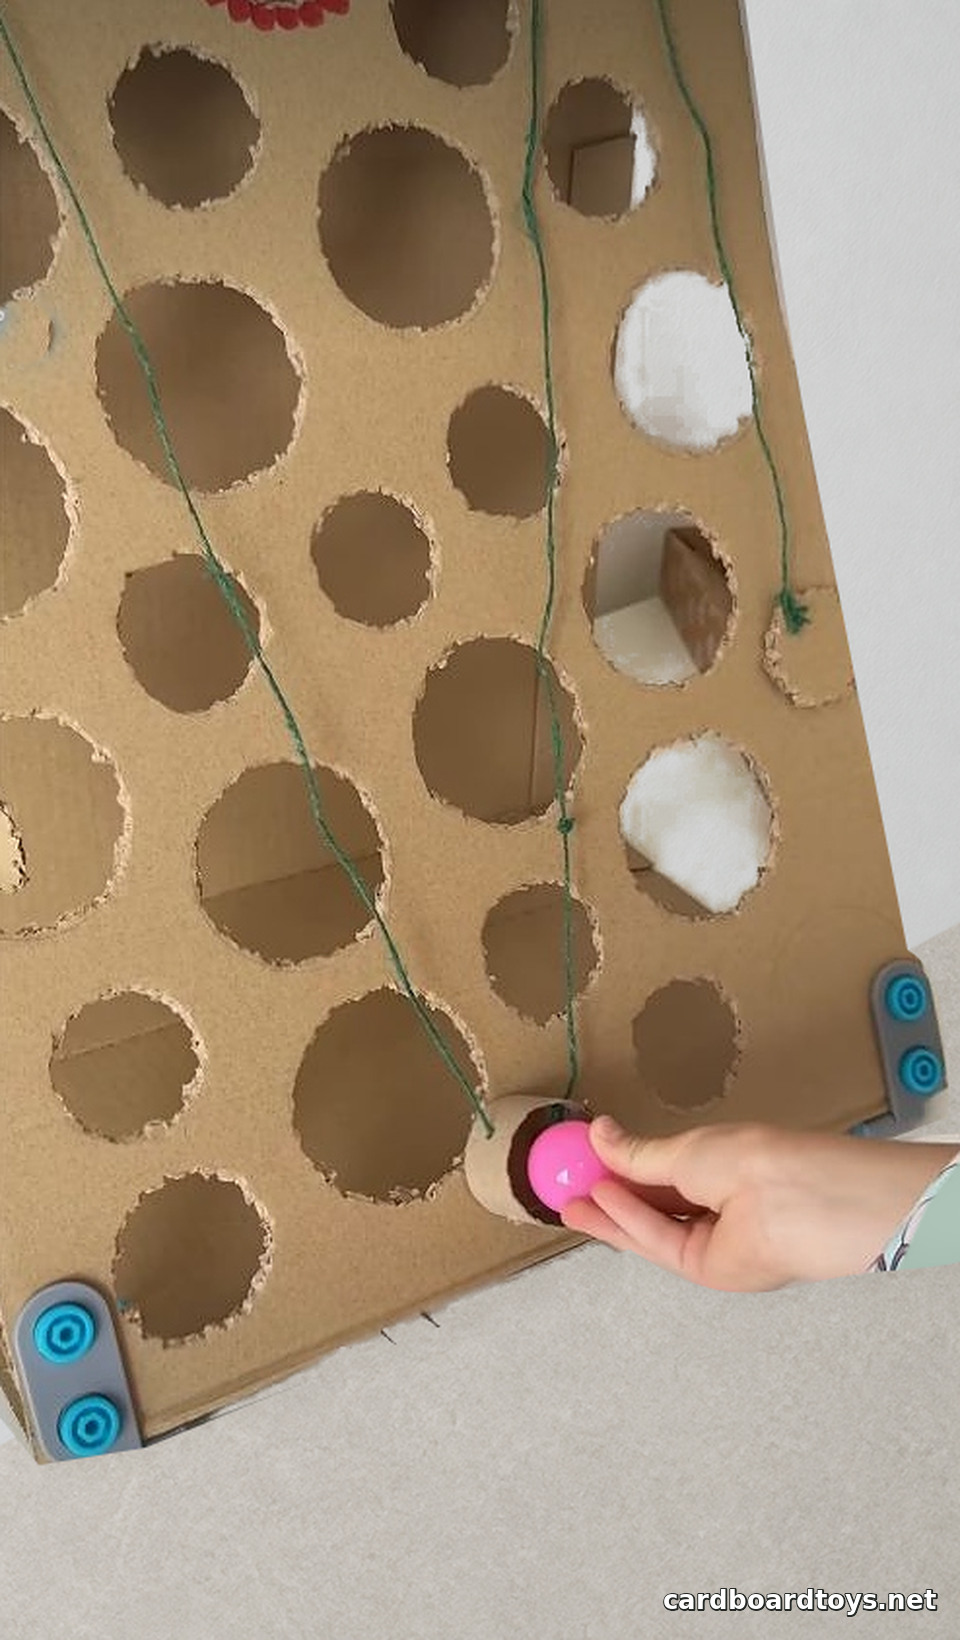
Use a short open ended cardboard ring wide enough for the ball to pass through. Make a small cord hole on each side and knot a cord through each hole. Lay the ring against the front, then take each cord up and over its own gray guide. Let the two free ends hang down the outside edges. The ring should sit flat against the board, which keeps the ball inside until it reaches an opening.
9. Steer the ball to the red opening
Place the carrier near the lower center with the ball in it. Take up both cords to raise the ring. Pull one cord while giving the other a little slack to steer sideways. Bring the ring and ball over the red opening. The ball should pass through to the catch tray. If it sticks, check that the opening is wider than the ball and that the ring sits flush against the board. Retrieve the ball and return the carrier to the bottom.
Watch the Ball Reach the Target
Safety
An adult should supervise the build and handle difficult cuts, especially on thick cardboard and around small holes. Rest the panel on scrap while punching, keep fingers away from the cutting path, and check that every screw and guide is secure before play. Use the maze on a stable low surface. Keep the loose cord, ball, and screws away from children under three. Leave the cords as two separate ends and store the toy out of reach after use.