
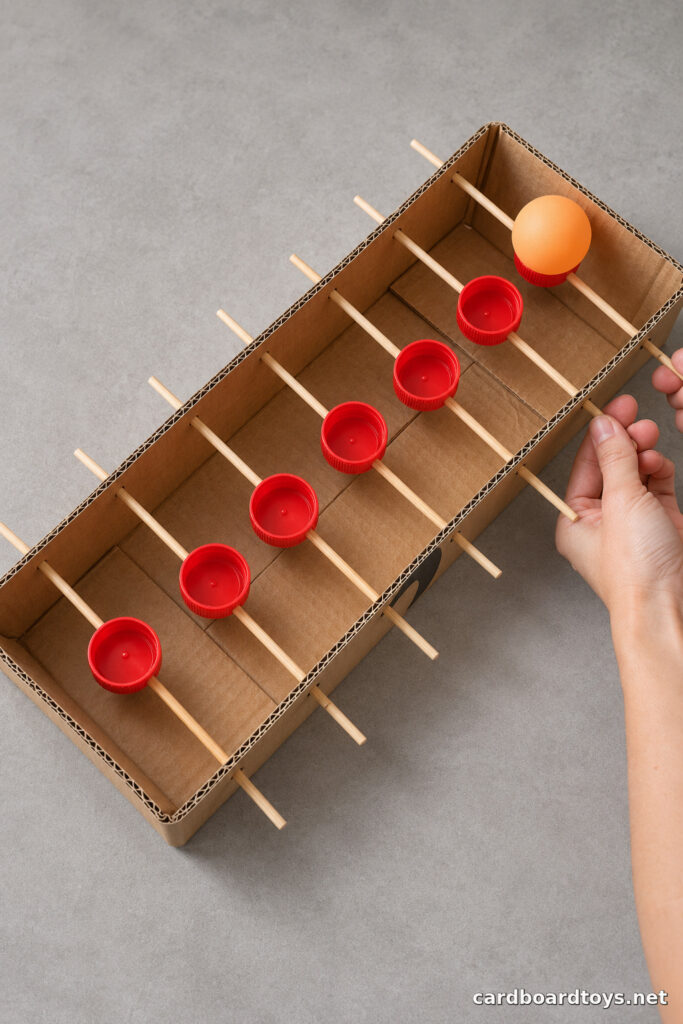
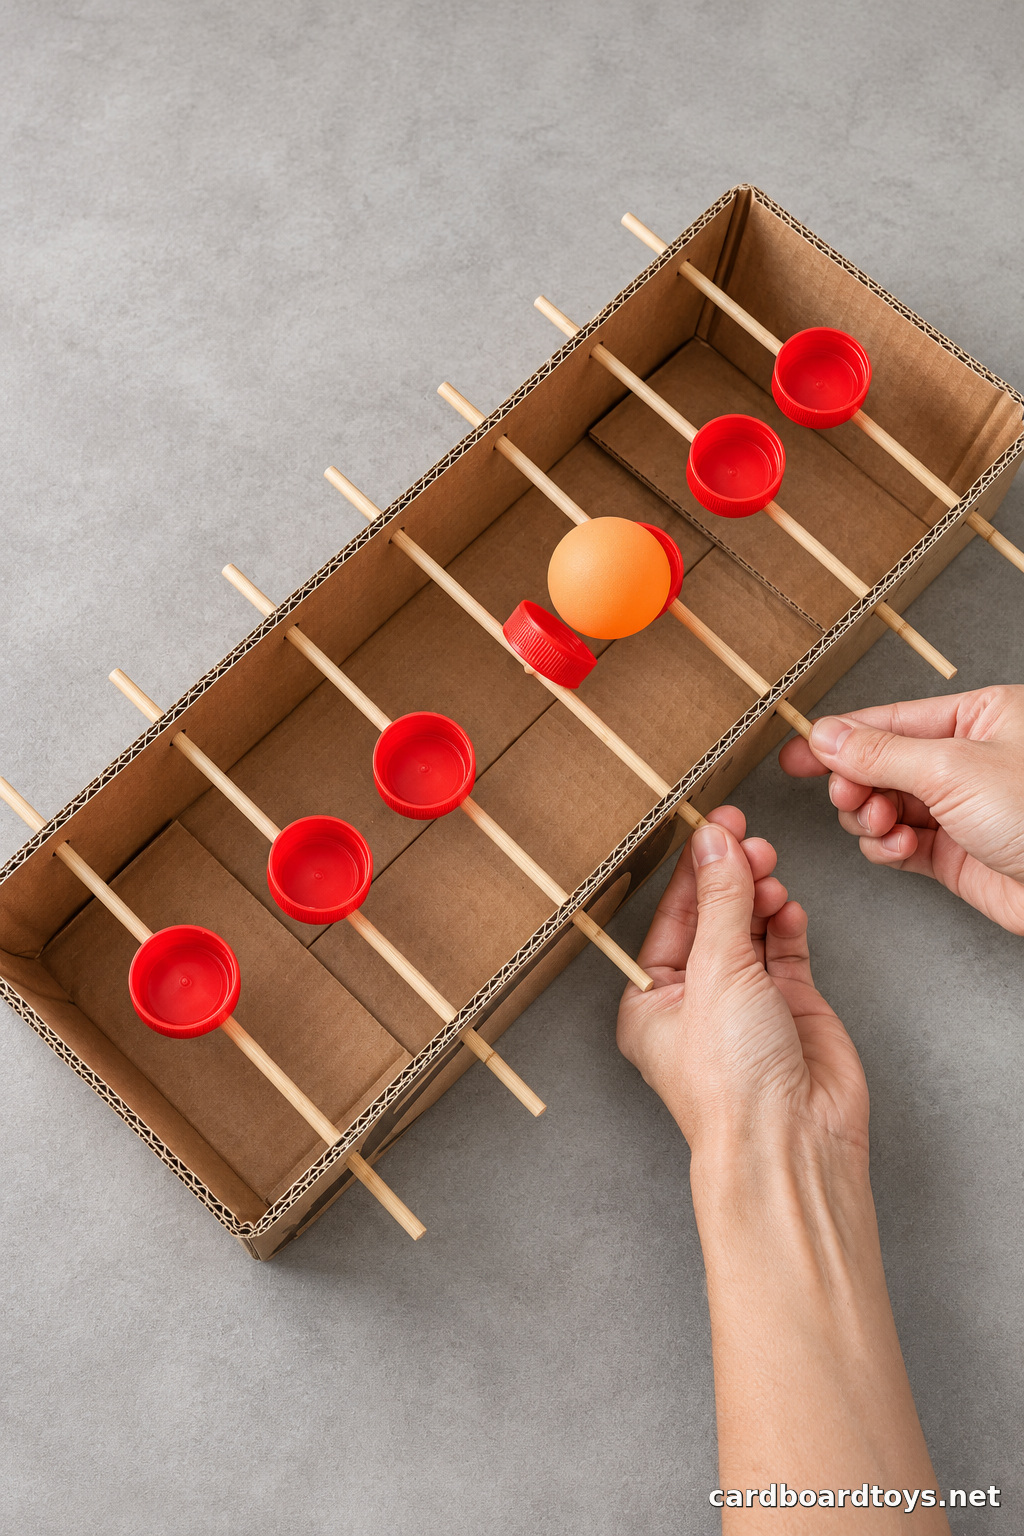
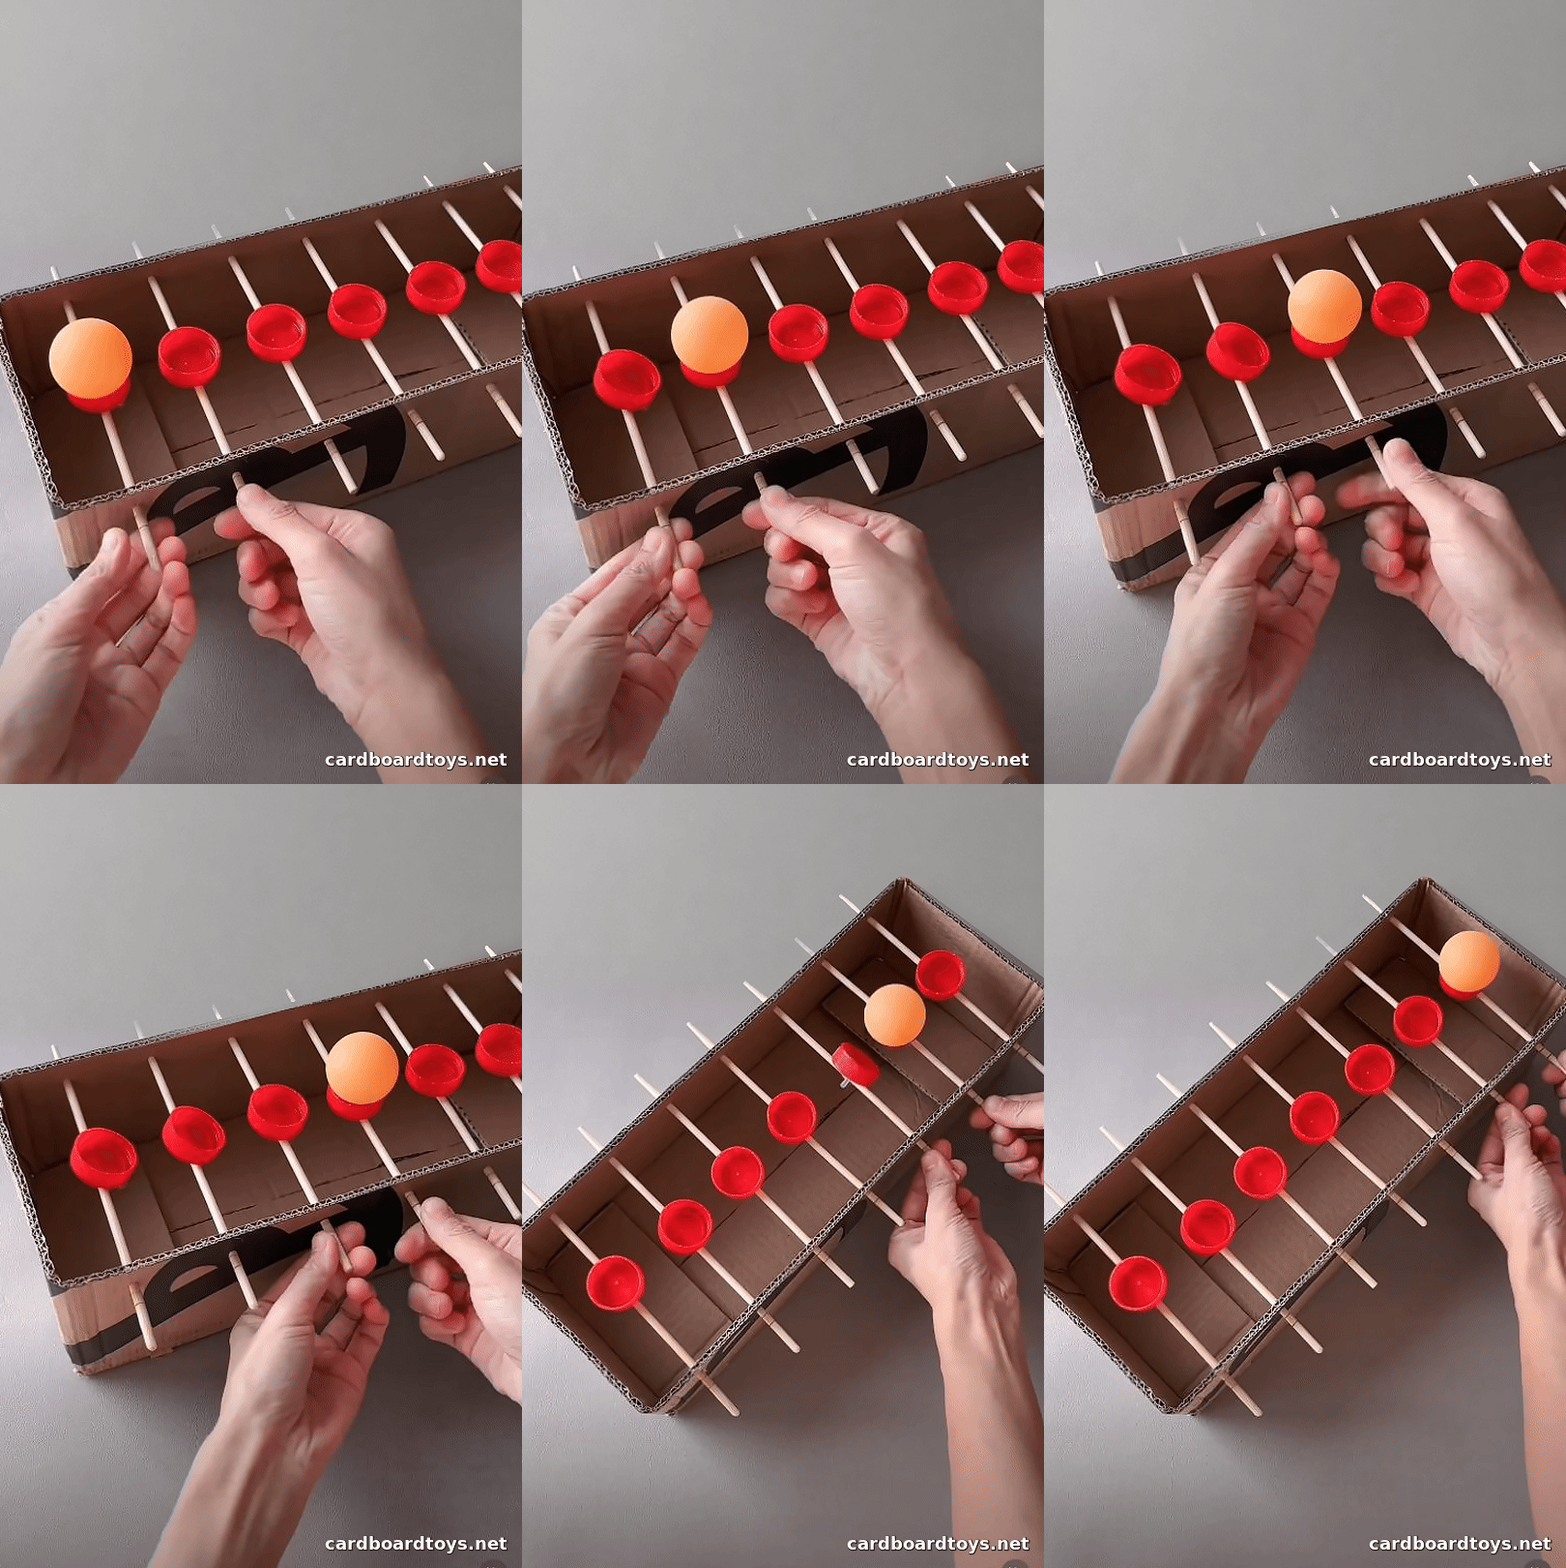
Seven red bottle caps sit in a row across an open cardboard box. Each cap balances on a bamboo skewer that sticks out of both sides. Turn the first skewer just enough to tip its cap and send the ball into the next one. It looks like a tiny foosball box, but the challenge here is to pass one ball all the way down the row without dropping it.
Difficulty
Easy. The most careful part is lining up the two rows of holes so every skewer turns without scraping the box.
Materials
- One long reused cardboard box, about 15 × 6 × 4 inches (38 × 15 × 10 cm)
- Seven matching plastic bottle caps, washed and dry
- Seven straight bamboo skewers, about 12 inches (30 cm) long
- One lightweight table tennis ball
- About one mini glue stick that fits the glue gun
Tools
- Ruler and fine marker
- Scissors for opening the box
- Awl or pointed tool for the pilot holes
- Mini hot glue gun, heat resistant mat and suitable cutters for the bamboo
2026 Prices
- Reused cardboard box — A$0.00
- Seven bamboo skewers — A$0.35
- Seven reused bottle caps — A$0.00
- One table tennis ball — A$1.00
- One mini glue stick — A$0.15
Total A$1.50
How to Build the Game
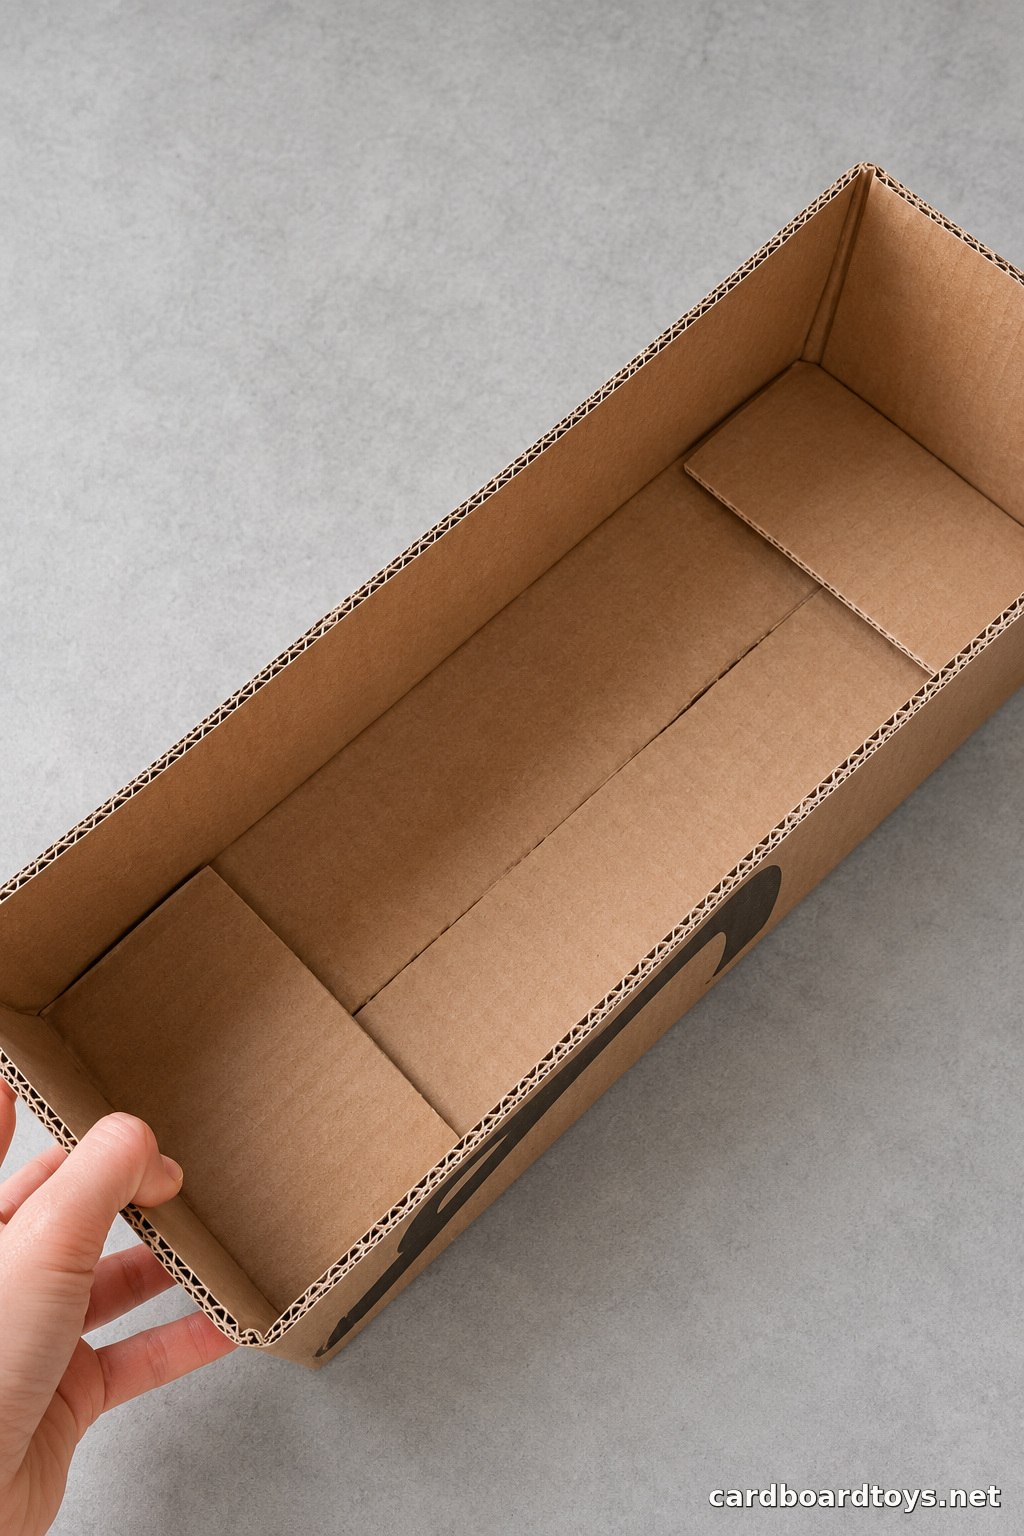
1. Open the box
Cut away the lid or all four top flaps. Keep the two long walls intact and set the box flat on the work surface. Press down any loose inside flap that might catch the ball.
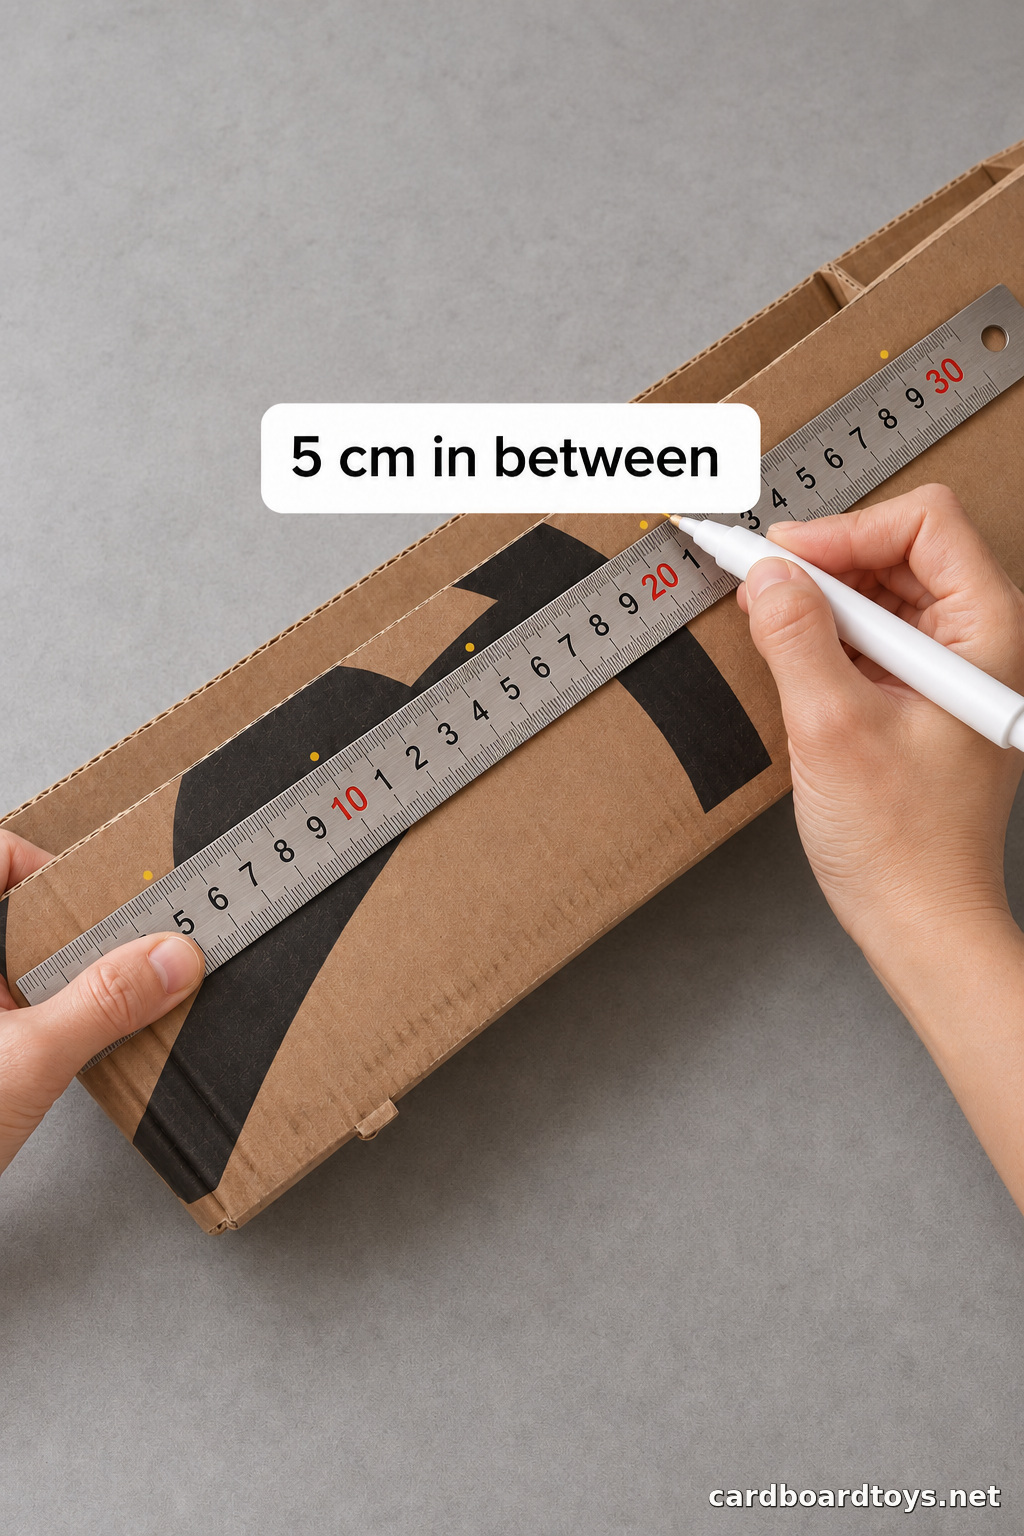
2. Mark the first row
Set a ruler against one long side, about an inch (2.5 cm) below the upper edge. Mark the first hole near the end, leaving enough clearance for the cap to turn. Measure six more marks, 2 inches (5 cm) apart, in a straight line. Use the same height for every mark.
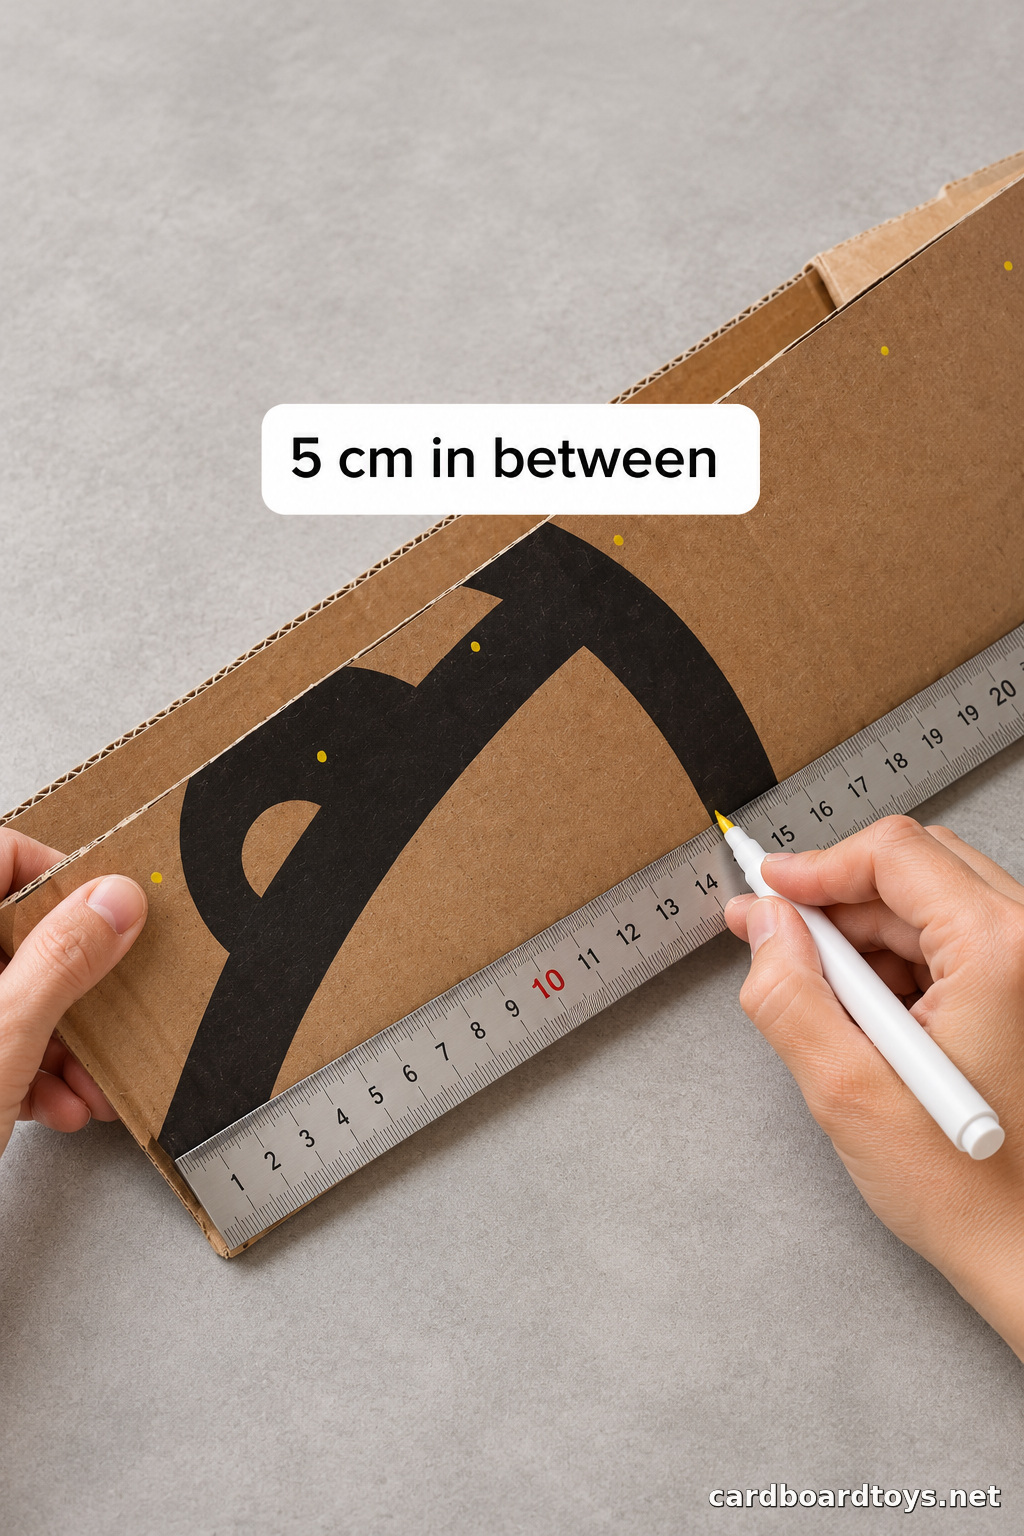
3. Match the marks on the other side
Turn the box around and measure from the same short end. Transfer the seven marks to the opposite wall at the same height. Check from above that each pair faces across the box. The two holes in a pair have to line up for the skewer to stay level.
4. Fit the first skewer
Have an adult make a pilot hole through each mark with the box supported on the table. Push a skewer in from the outside, across the box and through the facing hole. Leave a grip of at least 2 inches (5 cm) outside each wall. Repeat with the next rod.
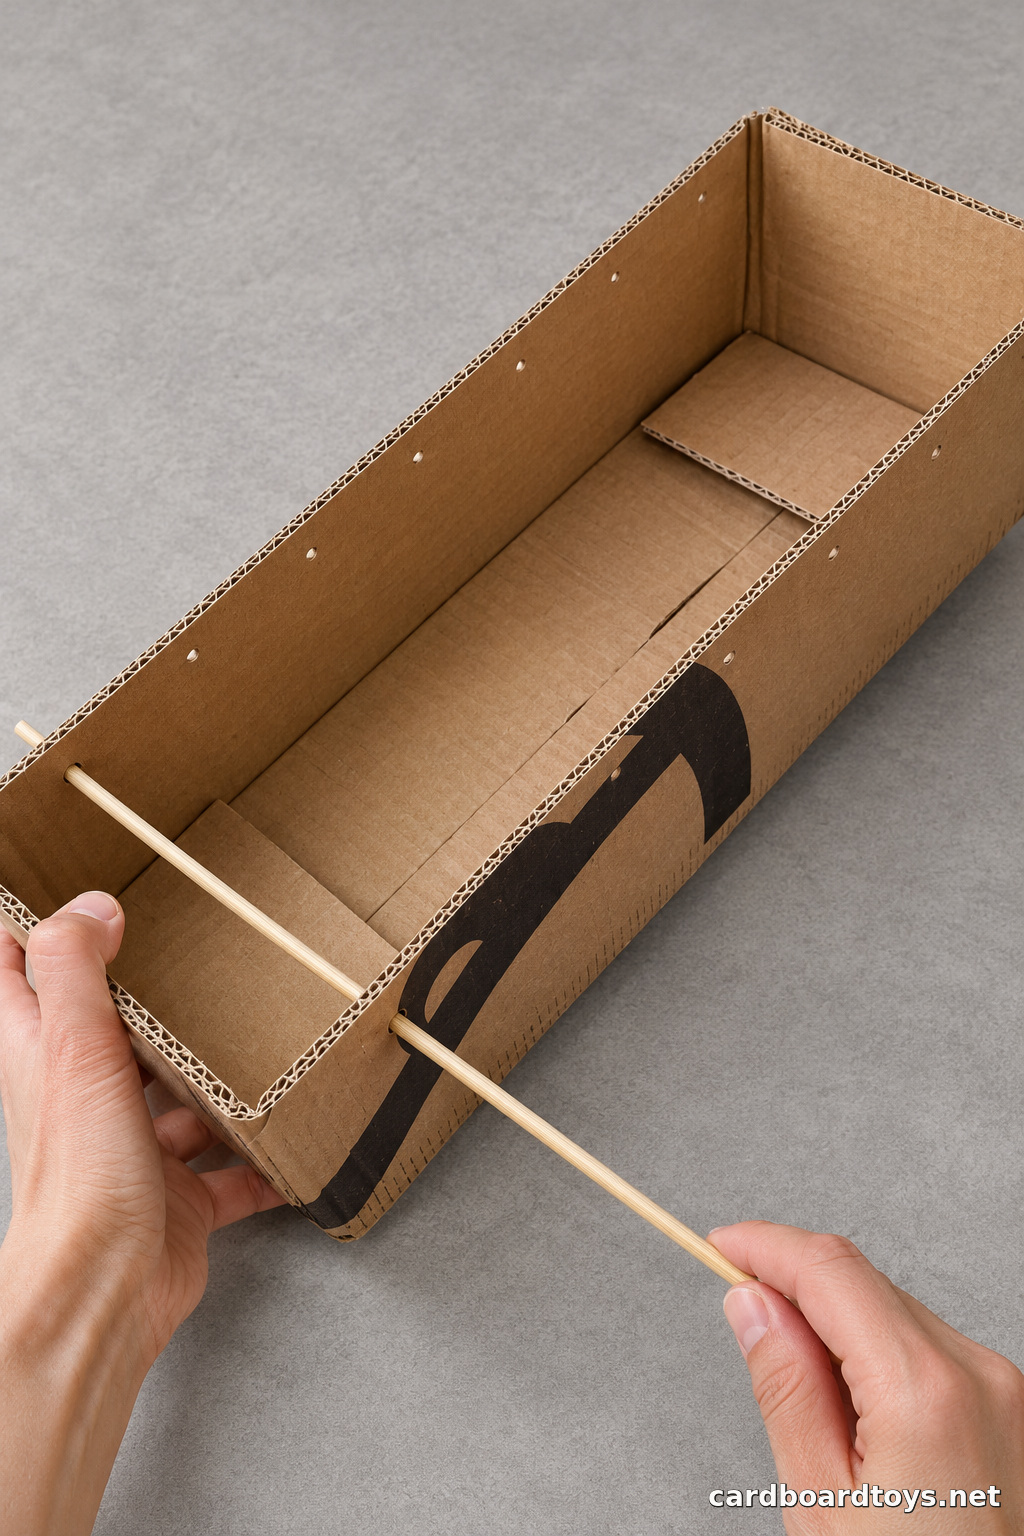
5. Check that the rods turn separately
Slide the remaining skewers into their paired holes. Turn each one by its end to check that it spins freely. An adult should trim off the sharp points and smooth any splinters. Keep the handles long enough to pinch without reaching into the box.
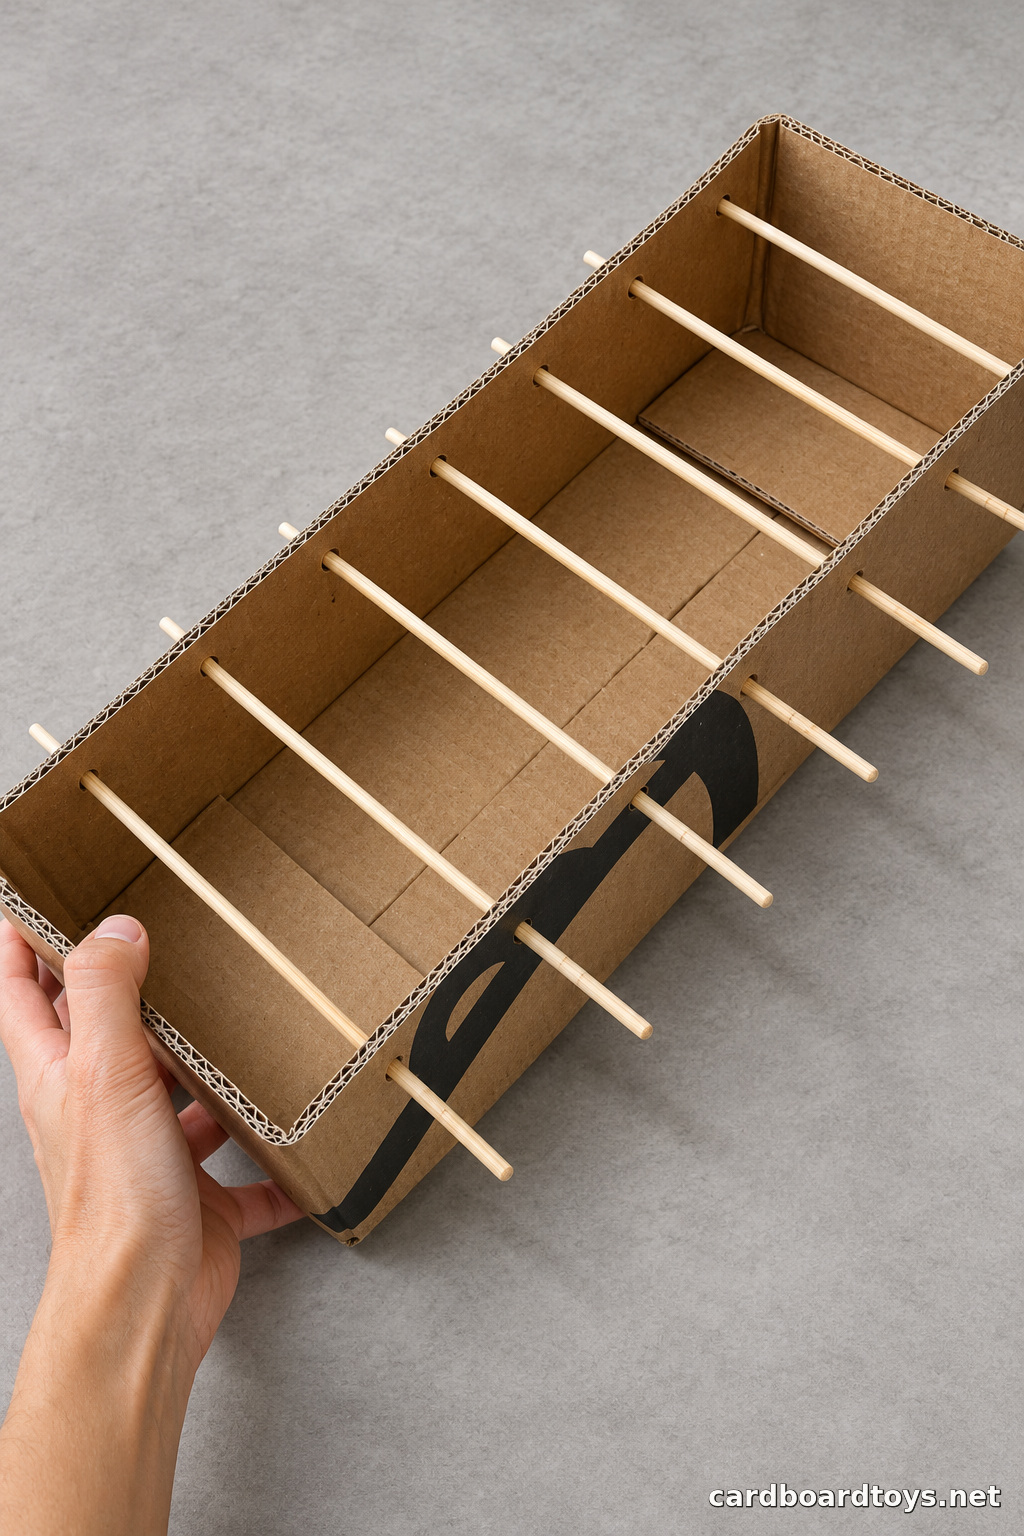
6. Attach the red caps
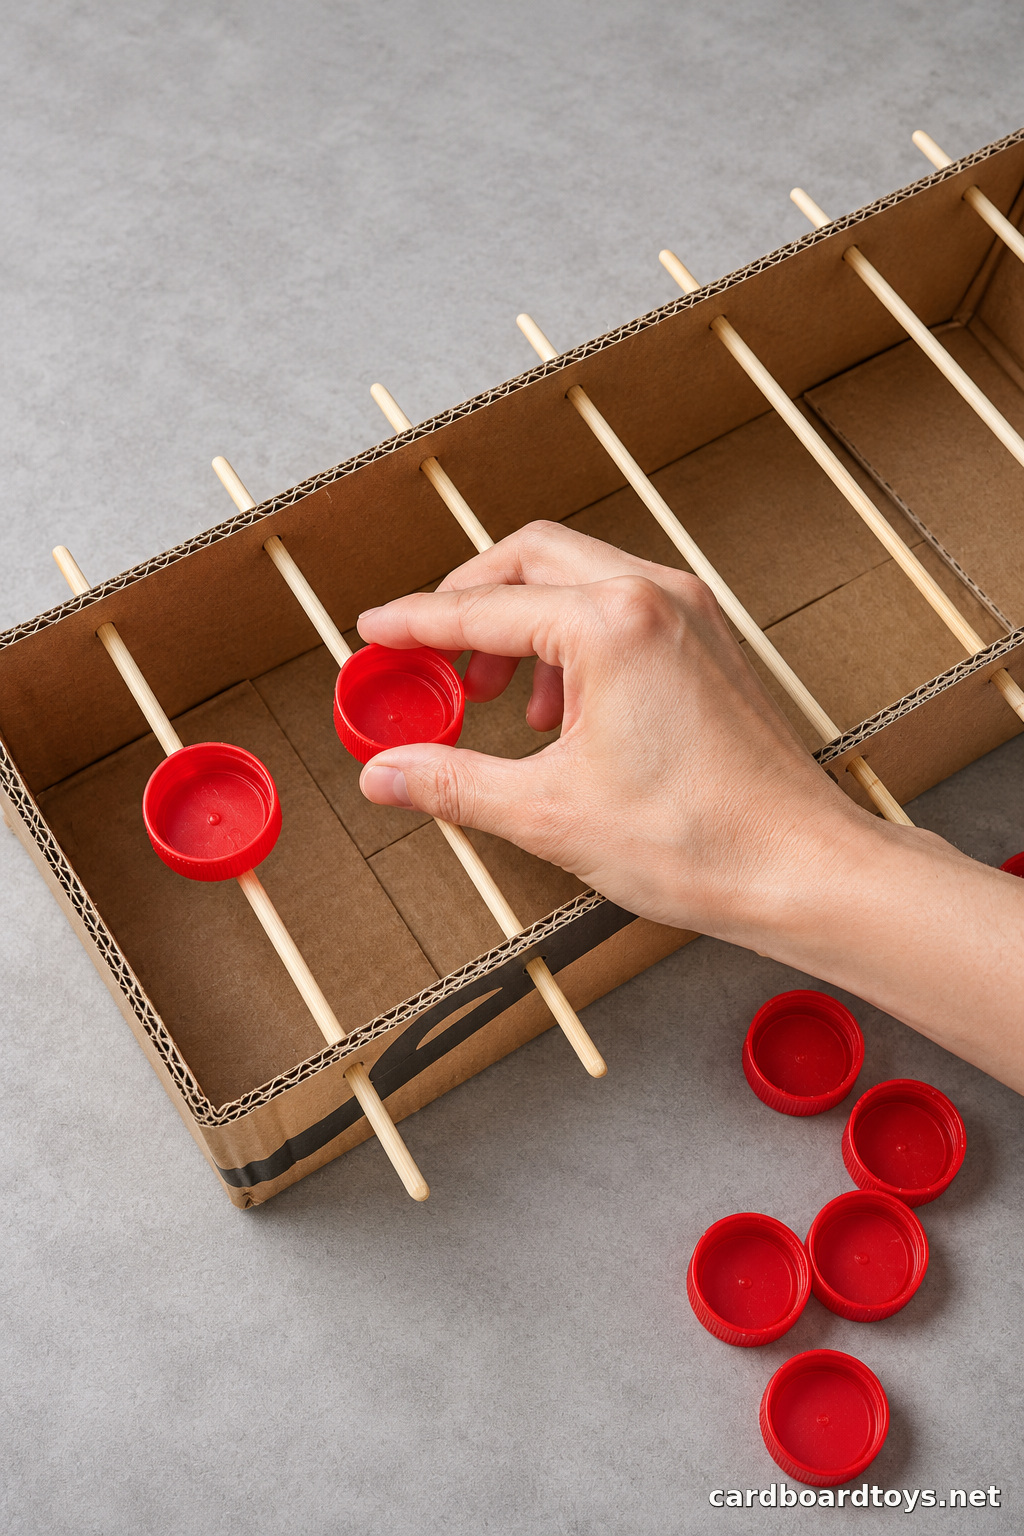
Have an adult put a small dab of hot glue on one skewer at its midpoint. Press a cap into place with its open side facing up. Hold it level while the glue sets. Repeat down the row so the centers line up. Leave the wood bare where each skewer passes through the cardboard.
7. Pass the ball
Start the ball in the first cap. Pinch the outside end of that skewer between finger and thumb. Roll it toward the next cap until the ball tips across, then return it to level. Leave the receiving cap level until it is your turn to tilt it. If the ball keeps dropping between the cups, check their spacing and the height of the rods before trying again.
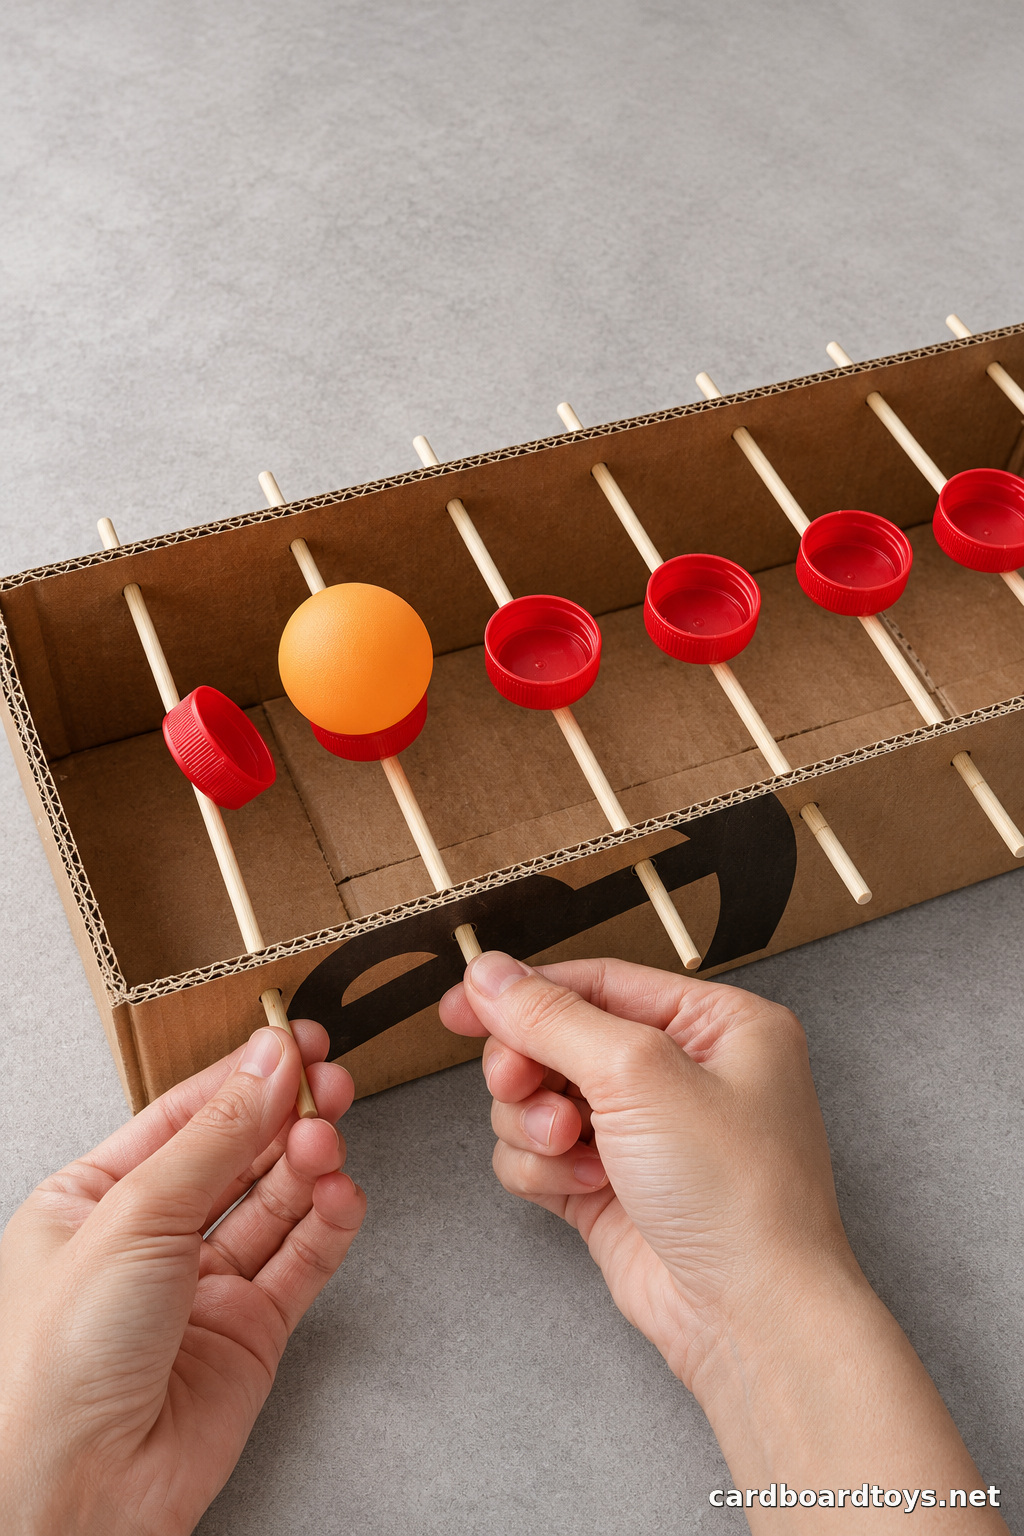
Watch the Ball Travel
Safety
An adult should cut the box, pierce the pilot holes, trim the skewers and handle the hot glue gun. Work over a heat resistant mat. Keep fingers clear of the heated nozzle and let the glue cool before turning the skewers. Check for splinters and loose caps before play. Keep the caps, ball and trimmed pieces away from children under three.