
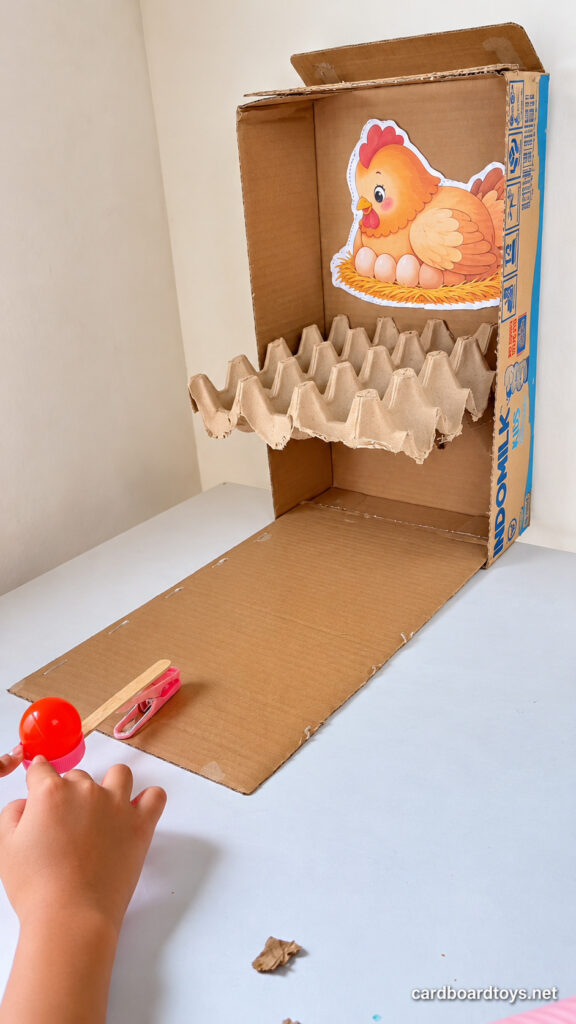
An empty egg tray becomes a row of landing pockets in this egg carton catapult game. The tray sits partway up an open box, with a paper hen above the targets and three cardboard brackets underneath. At the other end, a bottle cap holds one lightweight ball on the end of a craft stick. Pressing the cap pushes down the moving arm of a clothespin. Releasing it lets the spring snap the arm upward. The challenge is to send the ball into a pocket without bouncing it back out. Build the target first, then fit the launcher and use gentle presses to find the range.
Difficulty
Medium. Keeping the tray level and leaving the clothespin free to open take some care. Allow about 45 minutes for cutting and assembly, plus the cooling time stated on the glue packaging. An adult should prepare the box and handle the hot glue.
Materials
- One clean corrugated cardboard box with a tall back panel, two side walls and a front panel that can fold flat onto the table. A box roughly 35 to 40 cm tall and 22 to 25 cm wide is a useful starting point. Choose the width to suit the egg tray.
- One clean, dry molded paper egg tray, trimmed to fit between the box sides while keeping several complete pockets.
- Three triangular pieces of scrap corrugated cardboard, sized to support the underside of the tray against the back wall.
- One hen and nest picture on reused paper, small enough to fit above the tray.
- One plastic spring clothespin that opens and closes smoothly.
- One straight wooden craft stick, about 11.5 cm long and 1 cm wide.
- One clean plastic bottle cap, about 3 cm across, to cradle a ball.
- Three lightweight hollow plastic balls, about 4 cm across. Each must sit loosely on the cap and fit a target pocket.
- One compatible hot glue stick. Check that the adhesive is suitable for the surfaces being joined, including the plastic peg and cap.
Tools
- Pencil and ruler
- Scissors for the paper picture and egg tray
- Craft knife and cutting mat for the box, used by an adult
- Hot glue gun with its stand and a protective work mat
- Fine sandpaper for rough wooden edges
2026 Prices
- Reused cardboard box and support pieces A$0.00
- Reused paper egg tray A$0.00
- Reused paper hen picture A$0.00
- Reused bottle cap A$0.00
- Plastic clothespin A$0.03
- Wooden craft stick A$0.01
- Hot glue stick A$0.25
- Three lightweight plastic balls A$3.00
Total A$3.29
The Raised Nest and Its Spring Launcher
1. Cut around the hen and nest
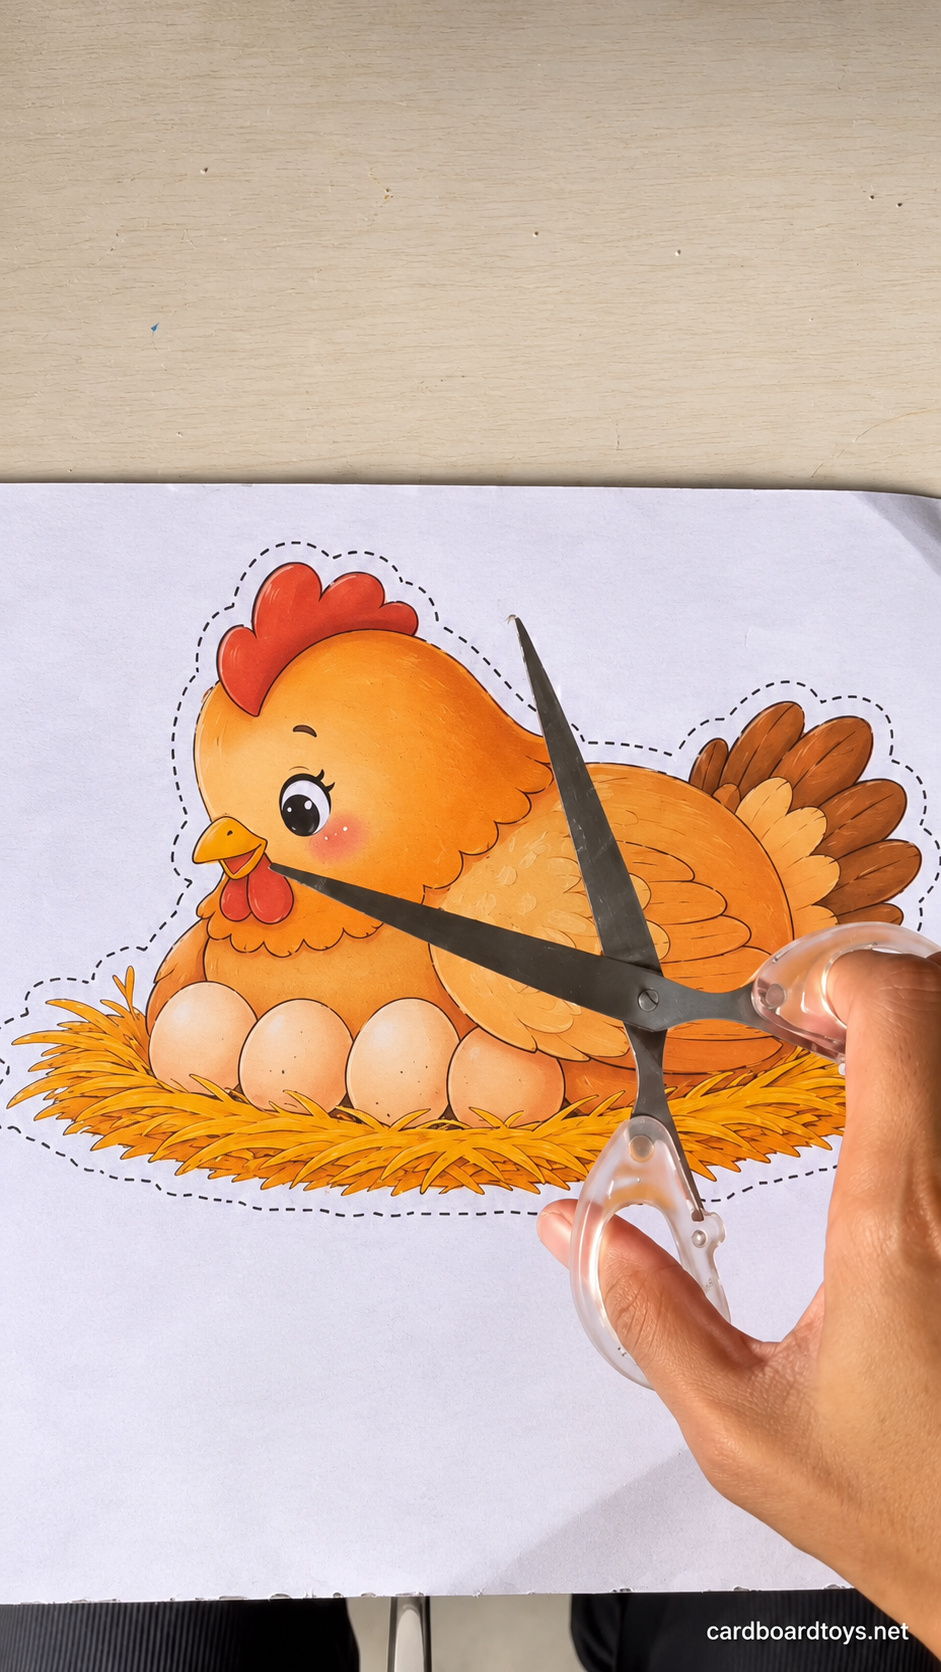
Prepare a picture of a hen sitting on a nest of eggs. Leave a narrow white border around the outside so the comb, tail feathers and straw remain joined to the main cutout. Turn the paper as you cut around the curved outline. The picture should fit comfortably across the upper part of the box, with room below it for the egg tray. Keep it flat while the box is prepared.
2. Open the box and place the picture above the target
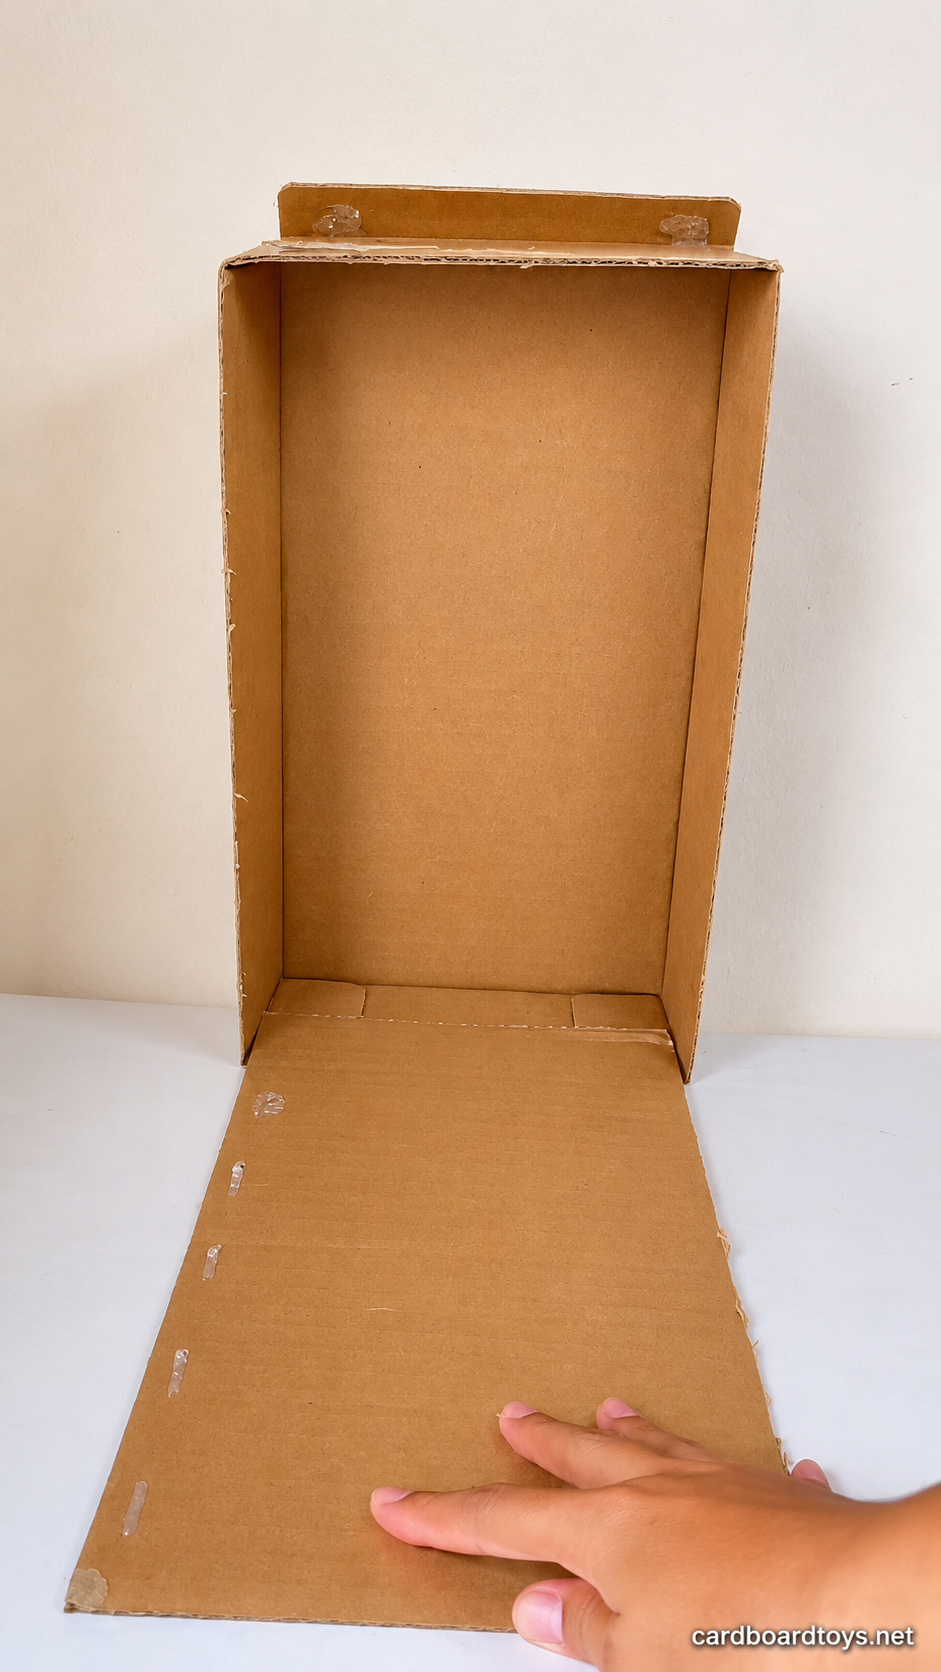
Stand the box on a short end with its open face toward the player. Keep the back and both side walls intact. Have an adult cut the two front vertical edges so the front panel can fold down along its bottom crease. Lay that panel flat on the table to make the base. Trim only the flaps that obstruct the opening, and check that the box stands without twisting. The base needs enough length to separate the launcher from the raised target.
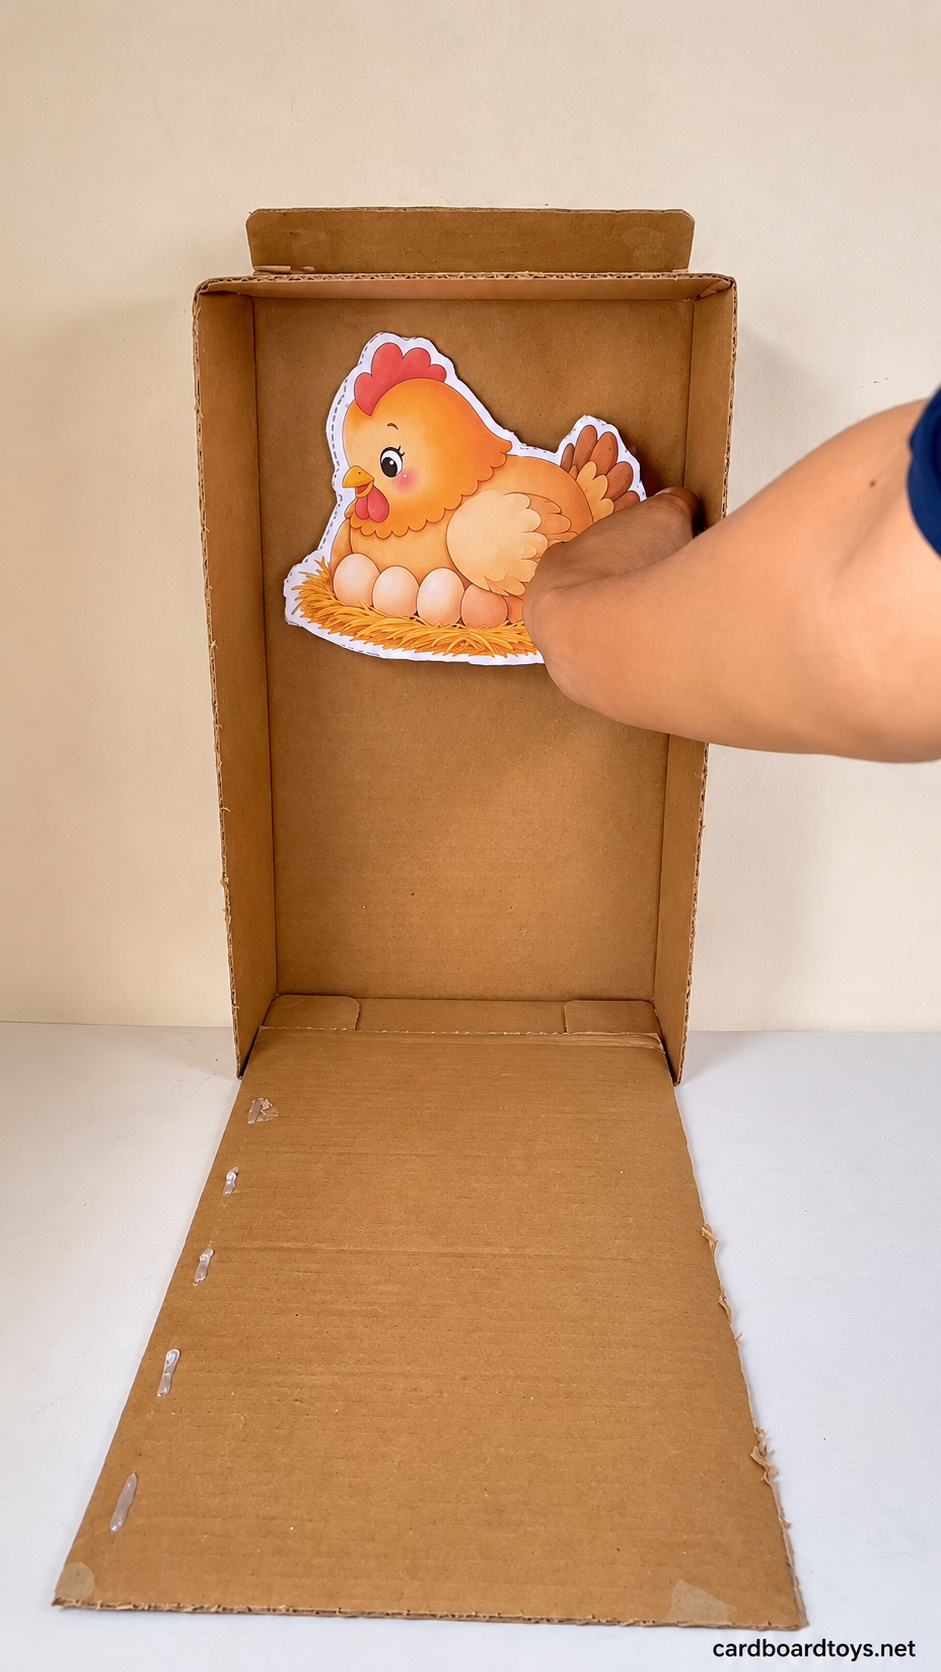
Hold the egg tray across the opening to check the space before fixing anything. Its pockets should remain below the paper nest, with enough headroom for a ball to drop into them. Mark the tray height lightly on the back wall. Attach the hen above this line with a few small dots of glue applied by an adult. Press the paper flat while keeping fingers away from the hot adhesive.
3. Fit the egg tray across the opening
Trim the tray to the width of the box, leaving its target pockets intact. Set it across the marks with the cups facing upward. Its back edge rests against the cardboard back wall, and its front edge projects toward the player. Check that a ball can settle in the cups and that the tray is approximately level from side to side.
Have an adult apply hot glue along the rear contact edge of the tray. Use a continuous bead where the rough paper edge will meet the box. Keep the glue out of the landing pockets.
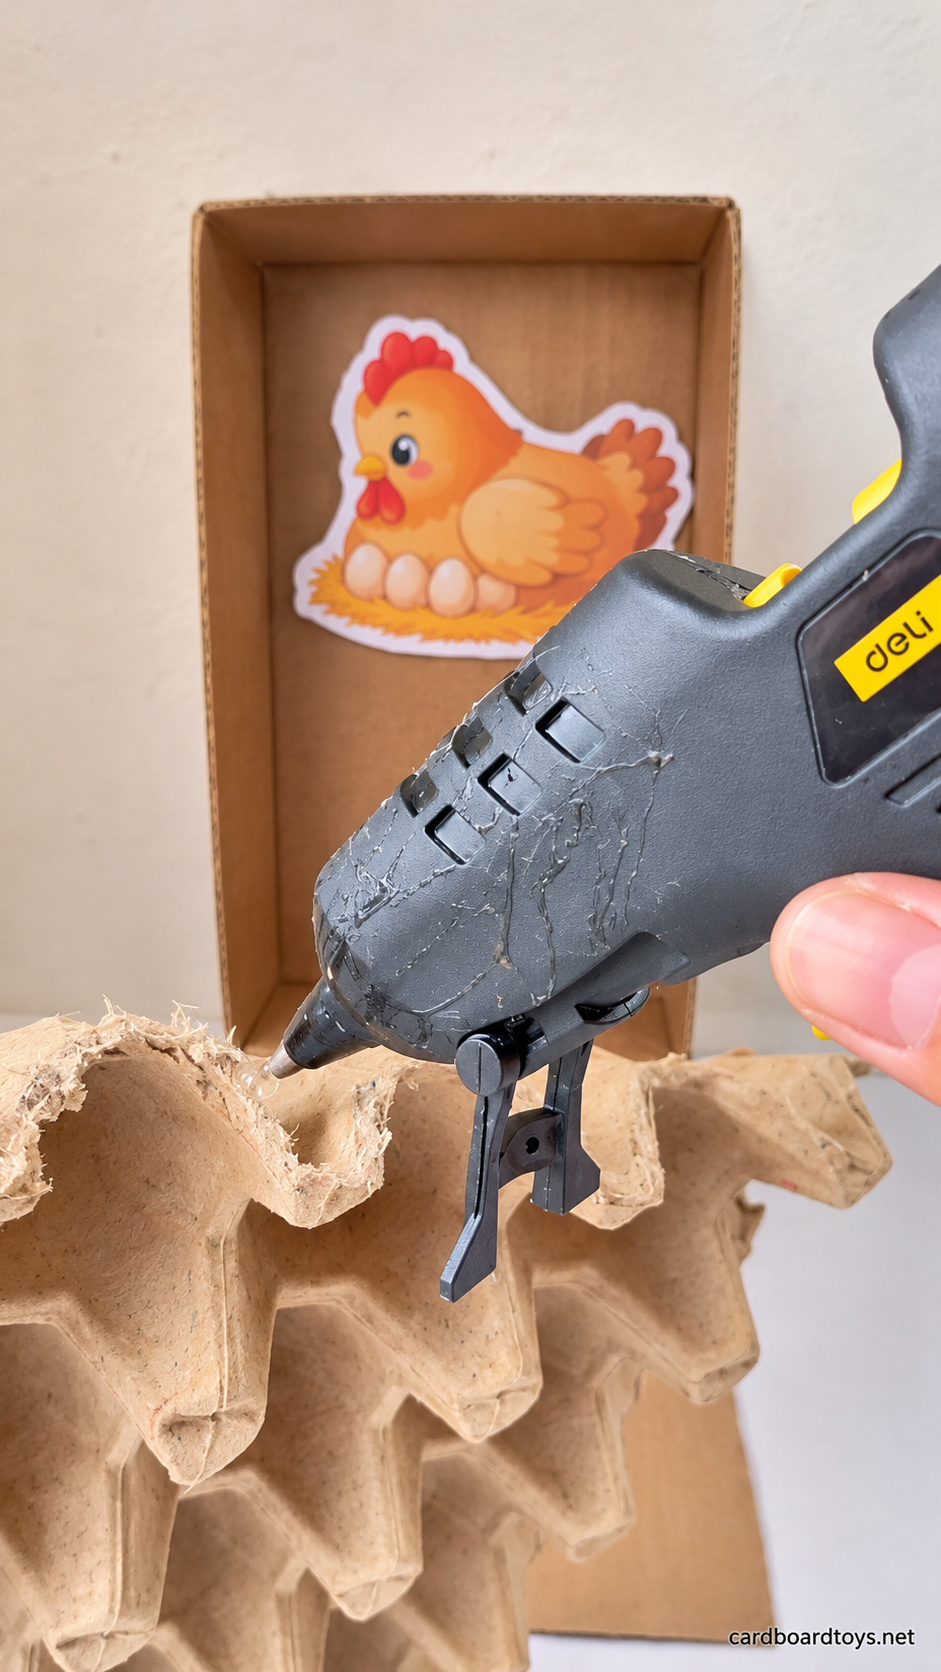
Return the tray to its marks. Hold the two front corners level while an adult presses the glued edge against the box. Leave the joint still for the time stated on the adhesive packaging. Support the tray until the brackets are attached, as this first joint alone should not carry the whole projecting edge.
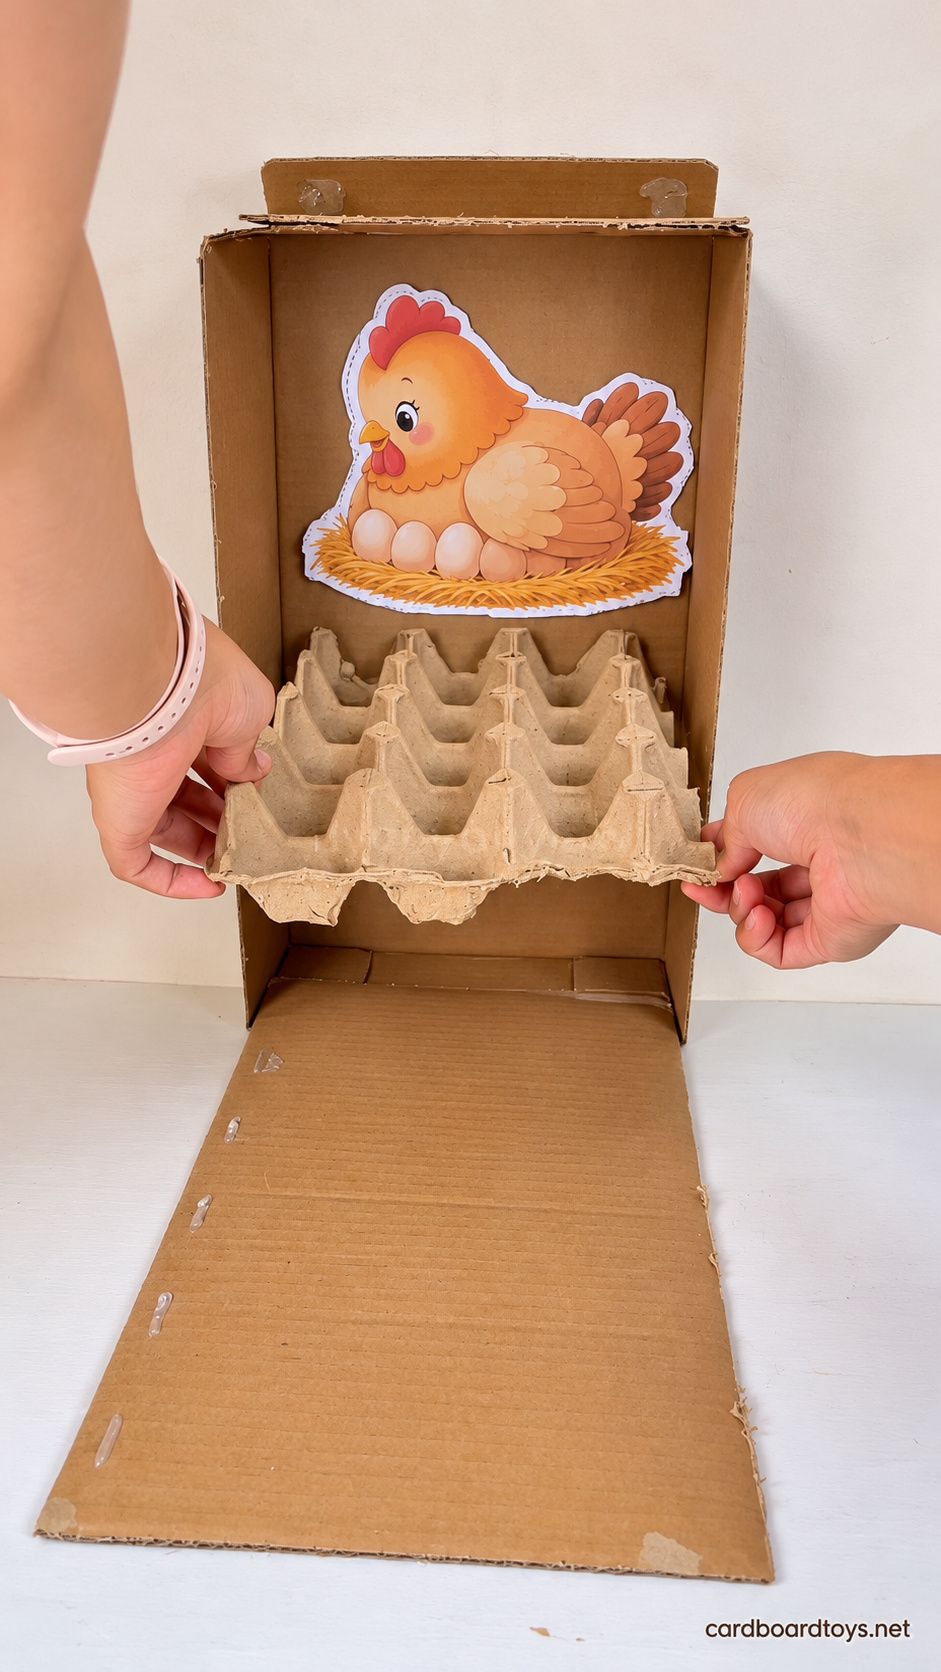
4. Brace the underside with three cardboard triangles
Cut a right triangle from scrap cardboard and try it beneath the tray. One short edge should meet the back wall, and the other should meet the underside of the tray. Trim it until both contacts sit flat. Use this first piece as a pattern for two more. These braces carry the tray load back into the box rather than leaving it hanging from the glued rear edge.
Have an adult put a slim bead of hot glue along the two contact edges of each triangle. Keep the long sloping edge clear.
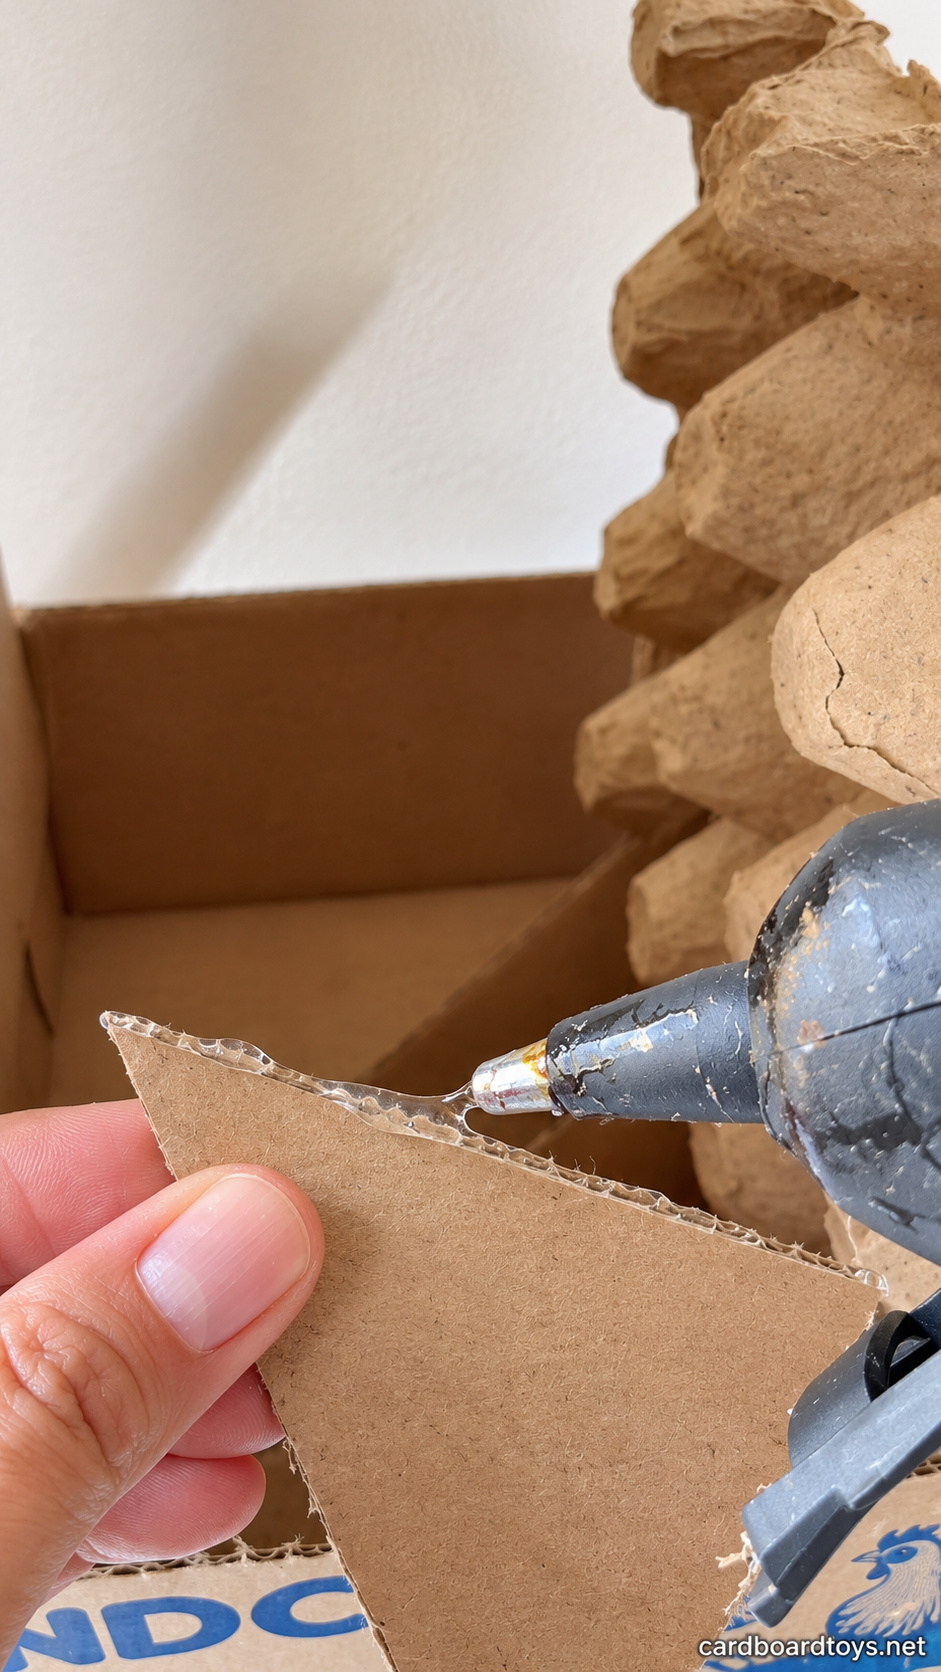
Carefully tip the box back to reach underneath without pulling on the tray. Space the three brackets across its width. Seat each between the back wall and the tray underside, keeping the tray at the marked height. Let the glue cool fully, then stand the game upright and check that the front edge stays level under gentle pressure.
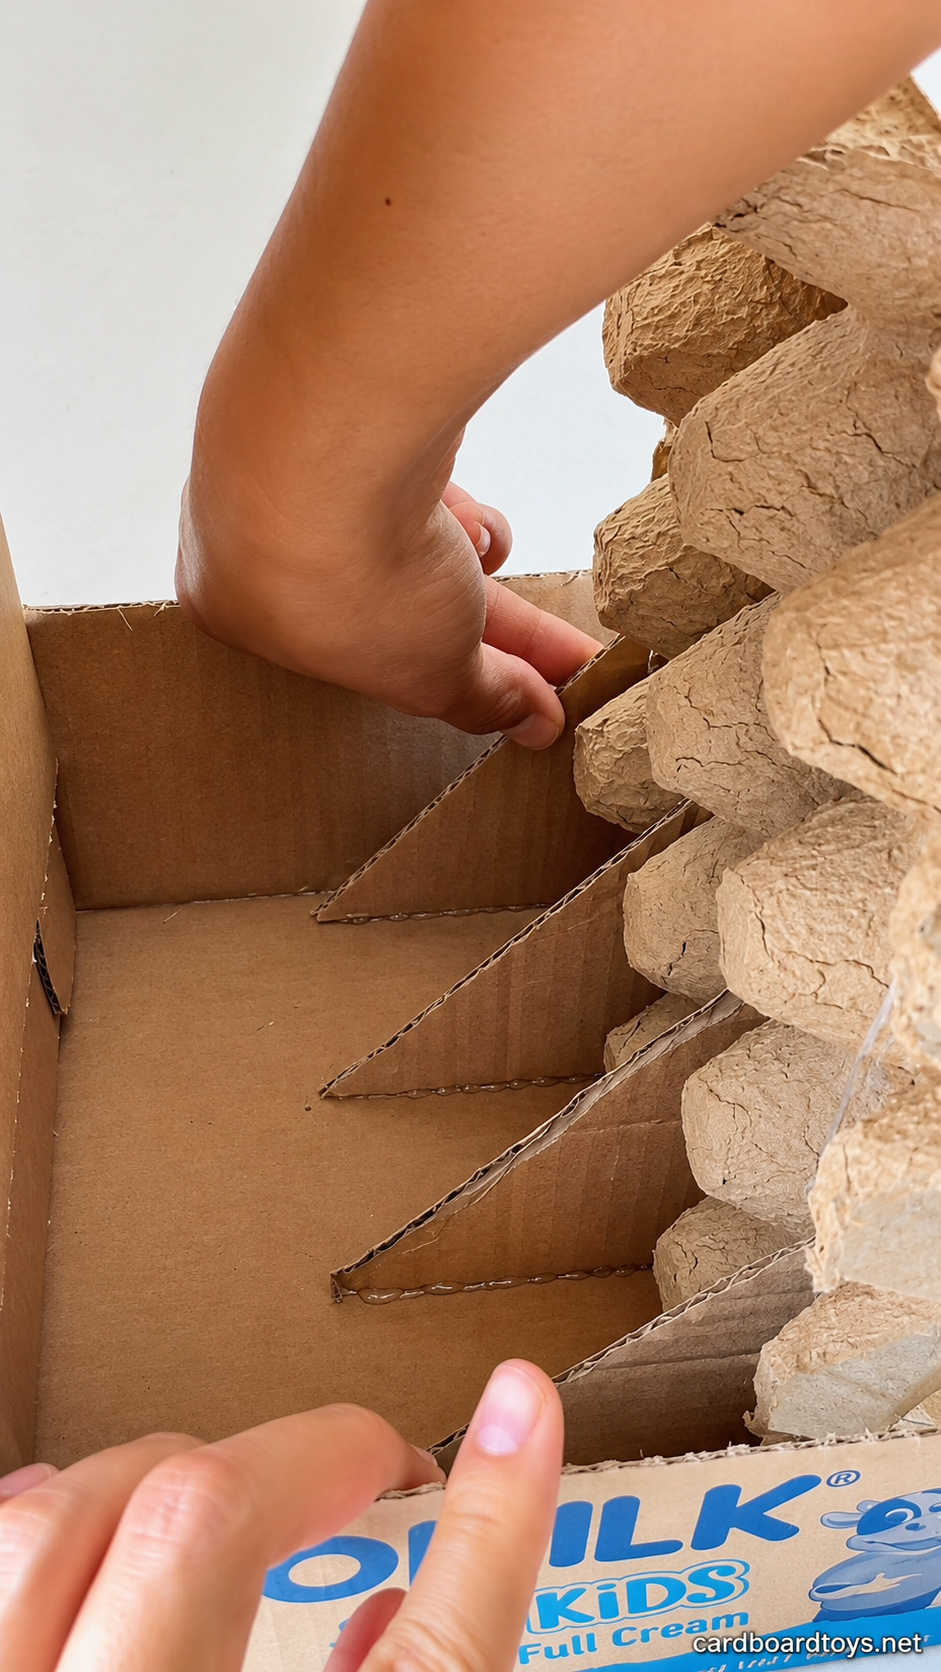
5. Join the craft stick, clothespin and ball cup
Open and release the clothespin before adding the stick. Note which half will rest on the base and which will move above it. Lay the craft stick lengthwise on the outer face of the upper moving half. One rounded end sits near the jaw end of the peg. The remaining length extends beyond the squeeze handle toward the player. Check that the lower half can still move independently.
Have an adult apply a narrow line of glue to the upper outer face, clear of the coil spring and the gap between the two halves.
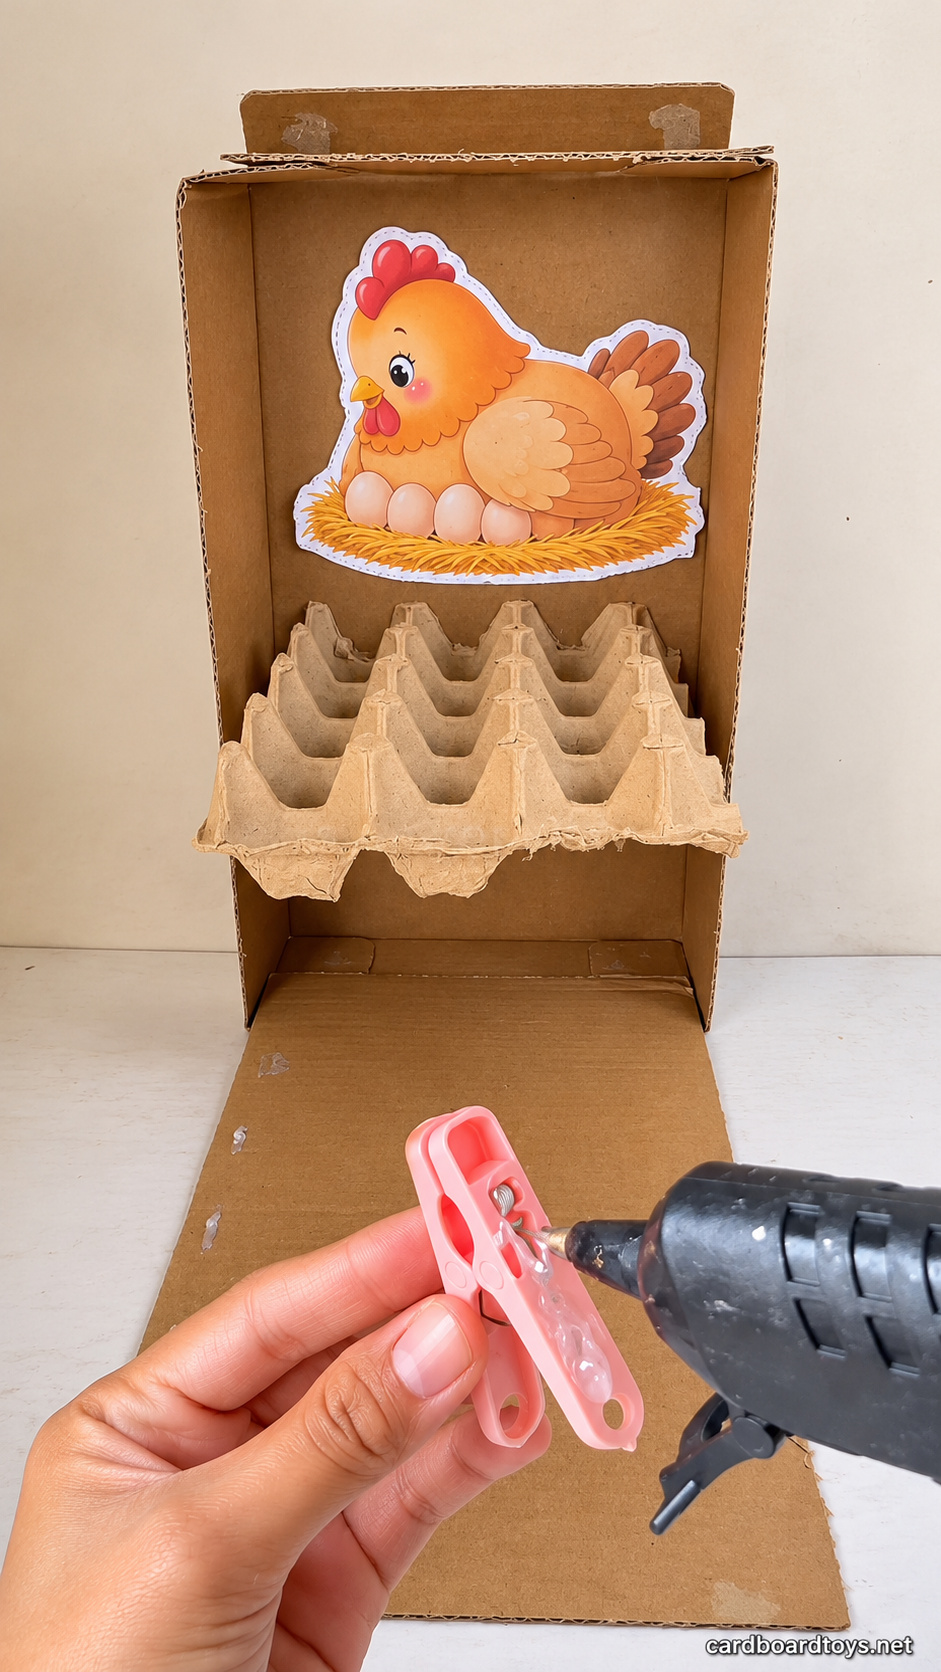
Press the stick onto this face and hold it straight while the glue sets. The stick and upper peg half should move together. Open the peg gently after cooling to check that glue has not bridged the moving gap.
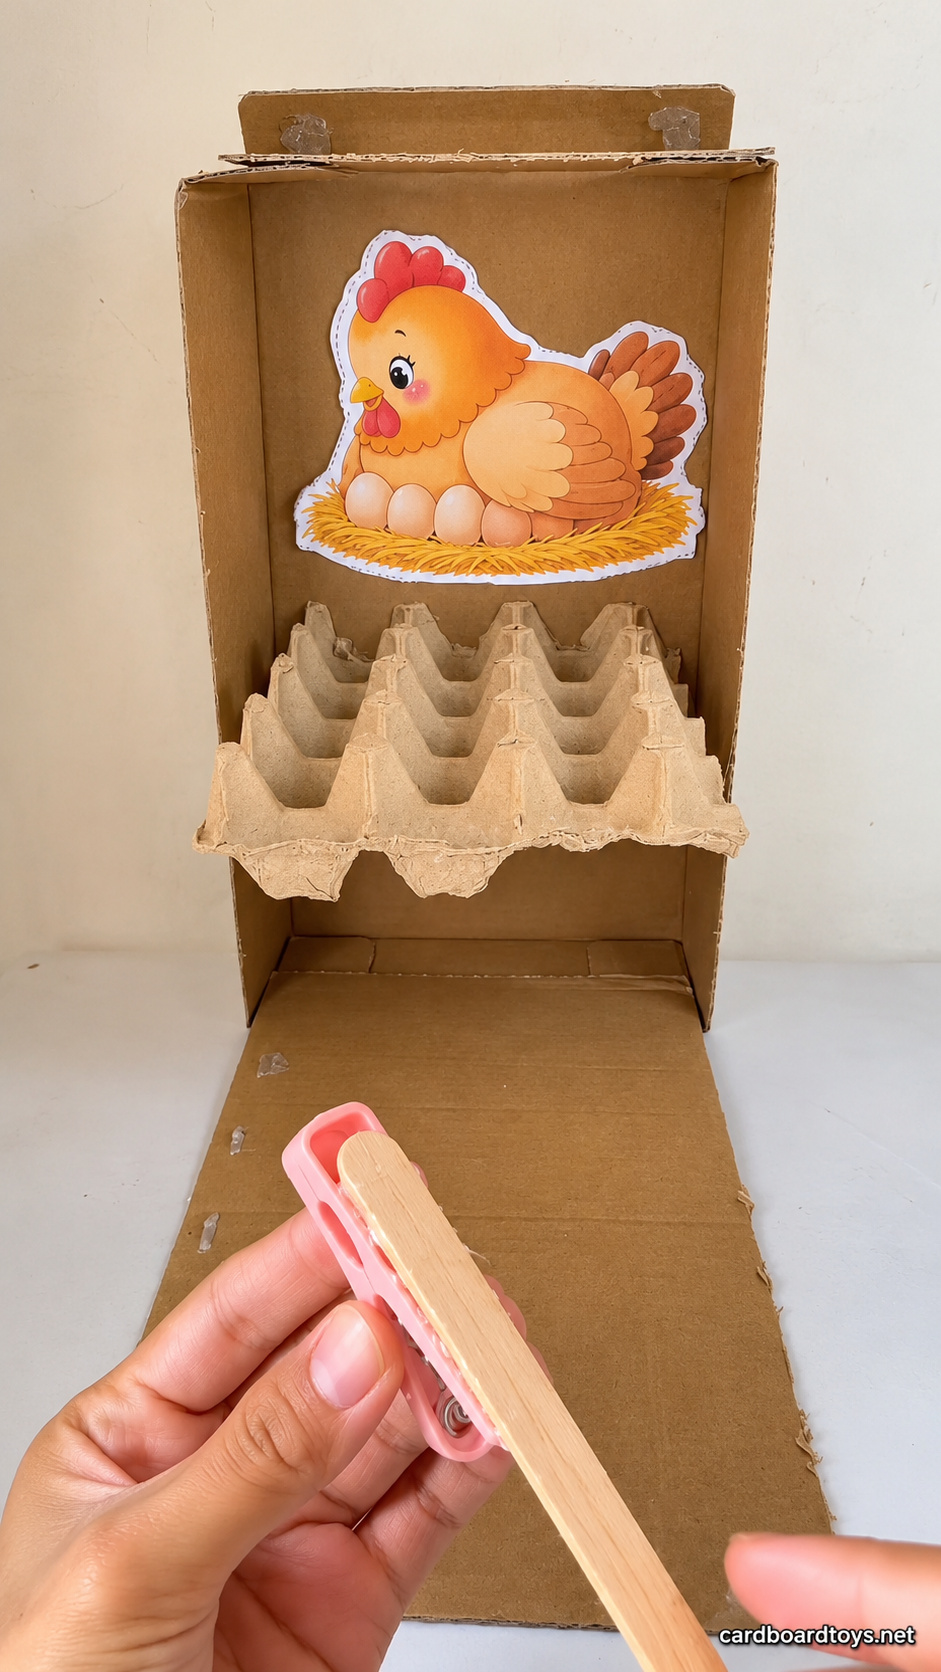
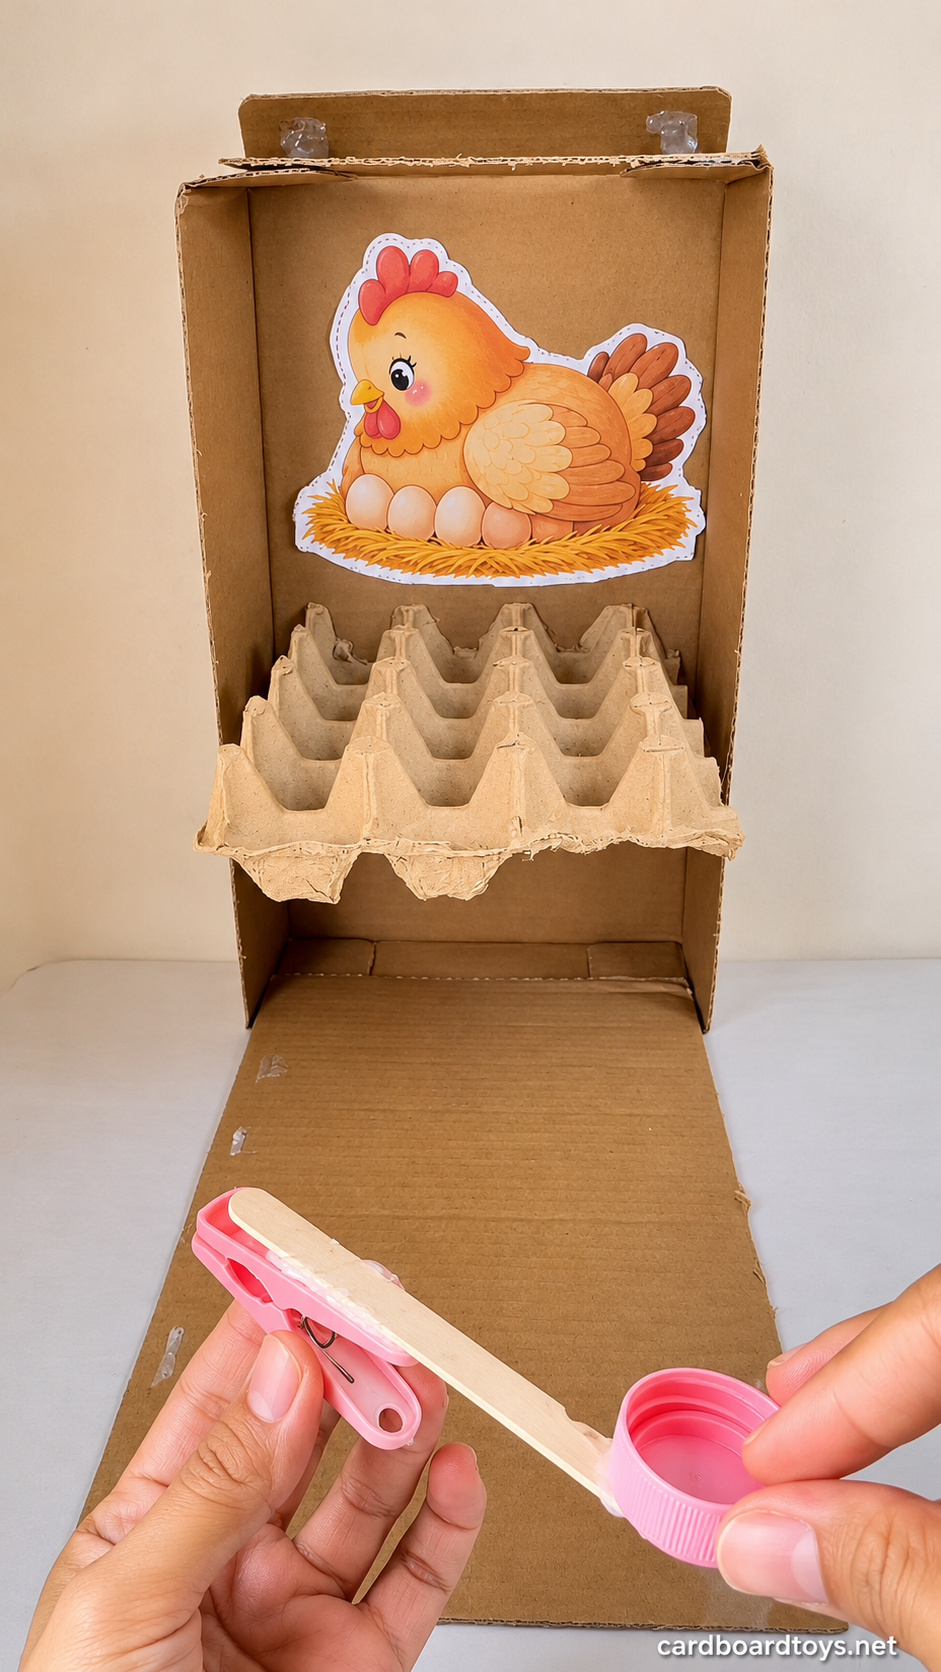
Glue the outside bottom of the bottle cap to the projecting end of the stick, with its opening facing upward. Keep the cap centered across the wood so a ball rests without leaning to one side. Let the joint cool, then have an adult check that the cap and stick resist a gentle twist. Smooth plastics vary in how well they hold hot glue. If either joint peels away, use an adhesive approved for that plastic and follow its instructions before continuing.
6. Anchor the launcher at the front of the base
Place the assembled launcher along the center of the flat cardboard base, with the cap facing the player and the other end pointing toward the tray. Keep it near the front edge. Press the cup gently to check that it has clearance from the cardboard and table through its small downward movement. Adjust the position before gluing.
Turn the launcher over carefully. Have an adult apply glue only to the outer face of the lower peg half that will stay fixed to the base.
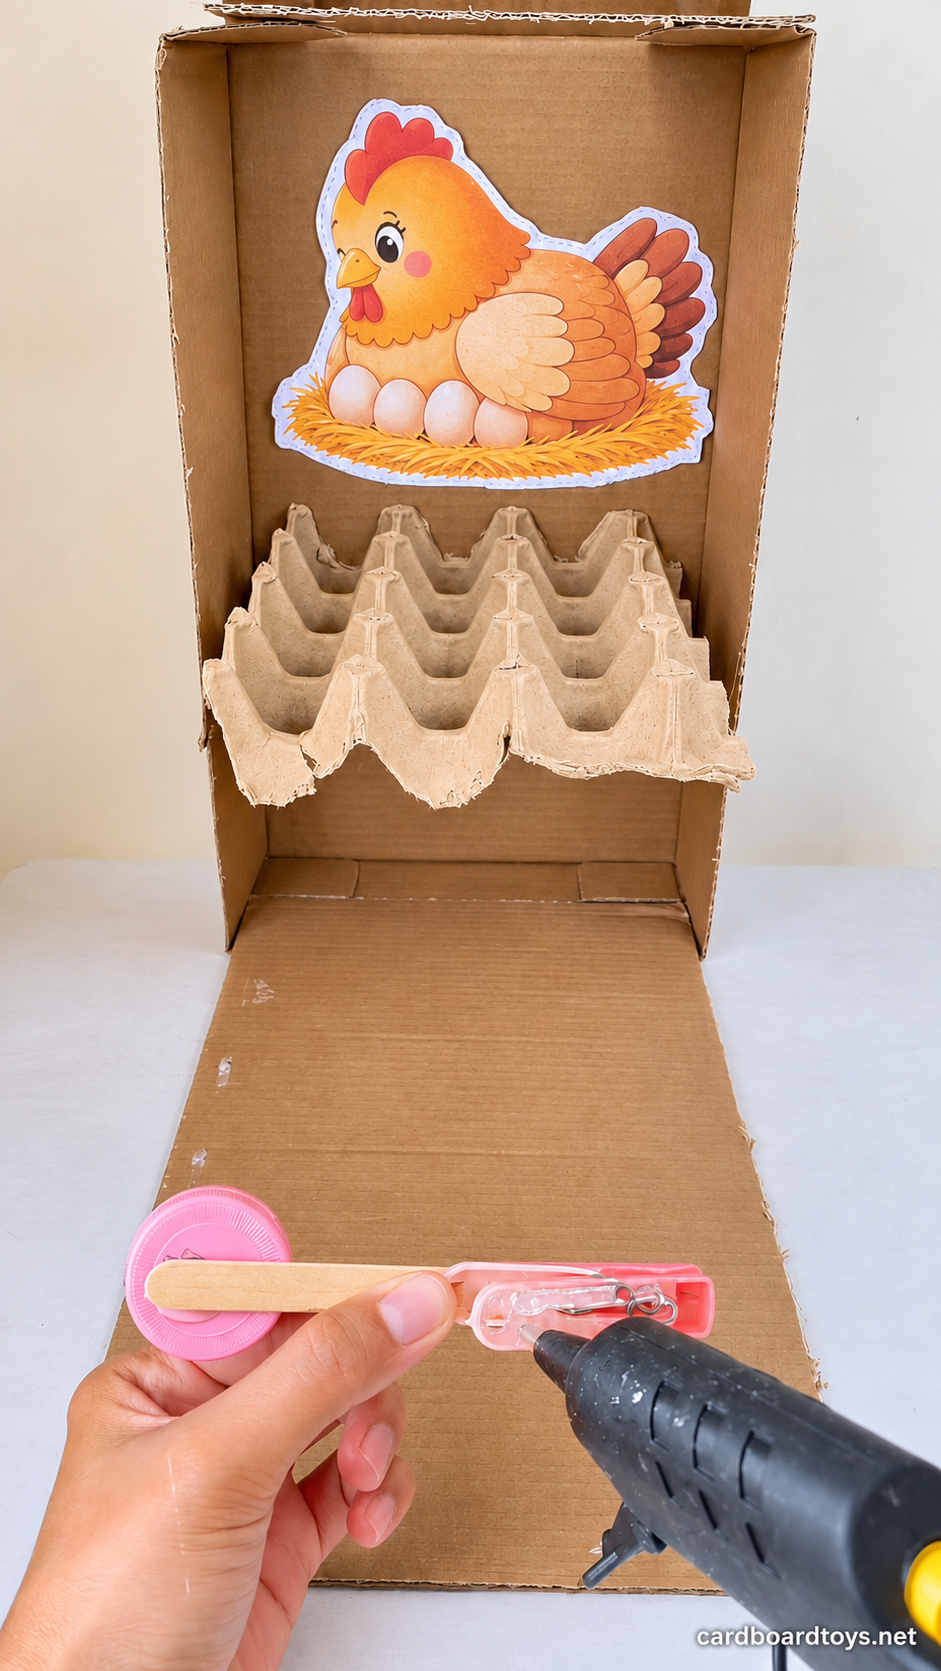
Set it back on the base and hold the lower half in place until the glue has set. Leave the spring and upper half clear. Once cool, make a small press with no ball loaded. The cap should dip and return as the spring closes the peg, while the lower attachment stays still.
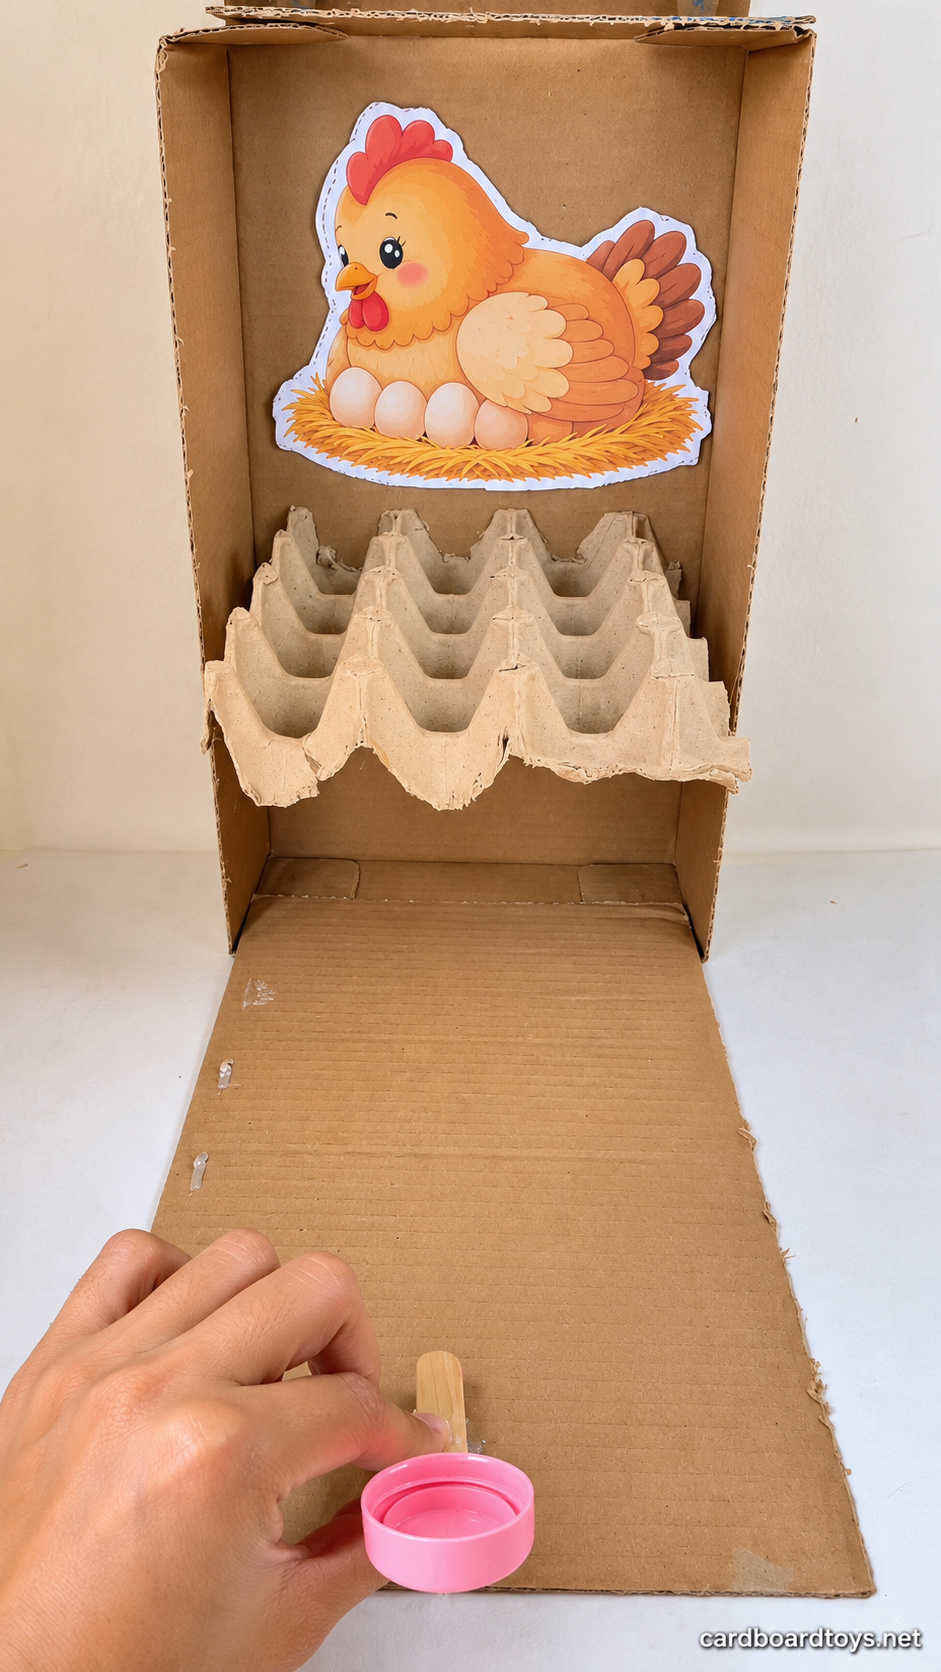
7. Load a ball and adjust the press
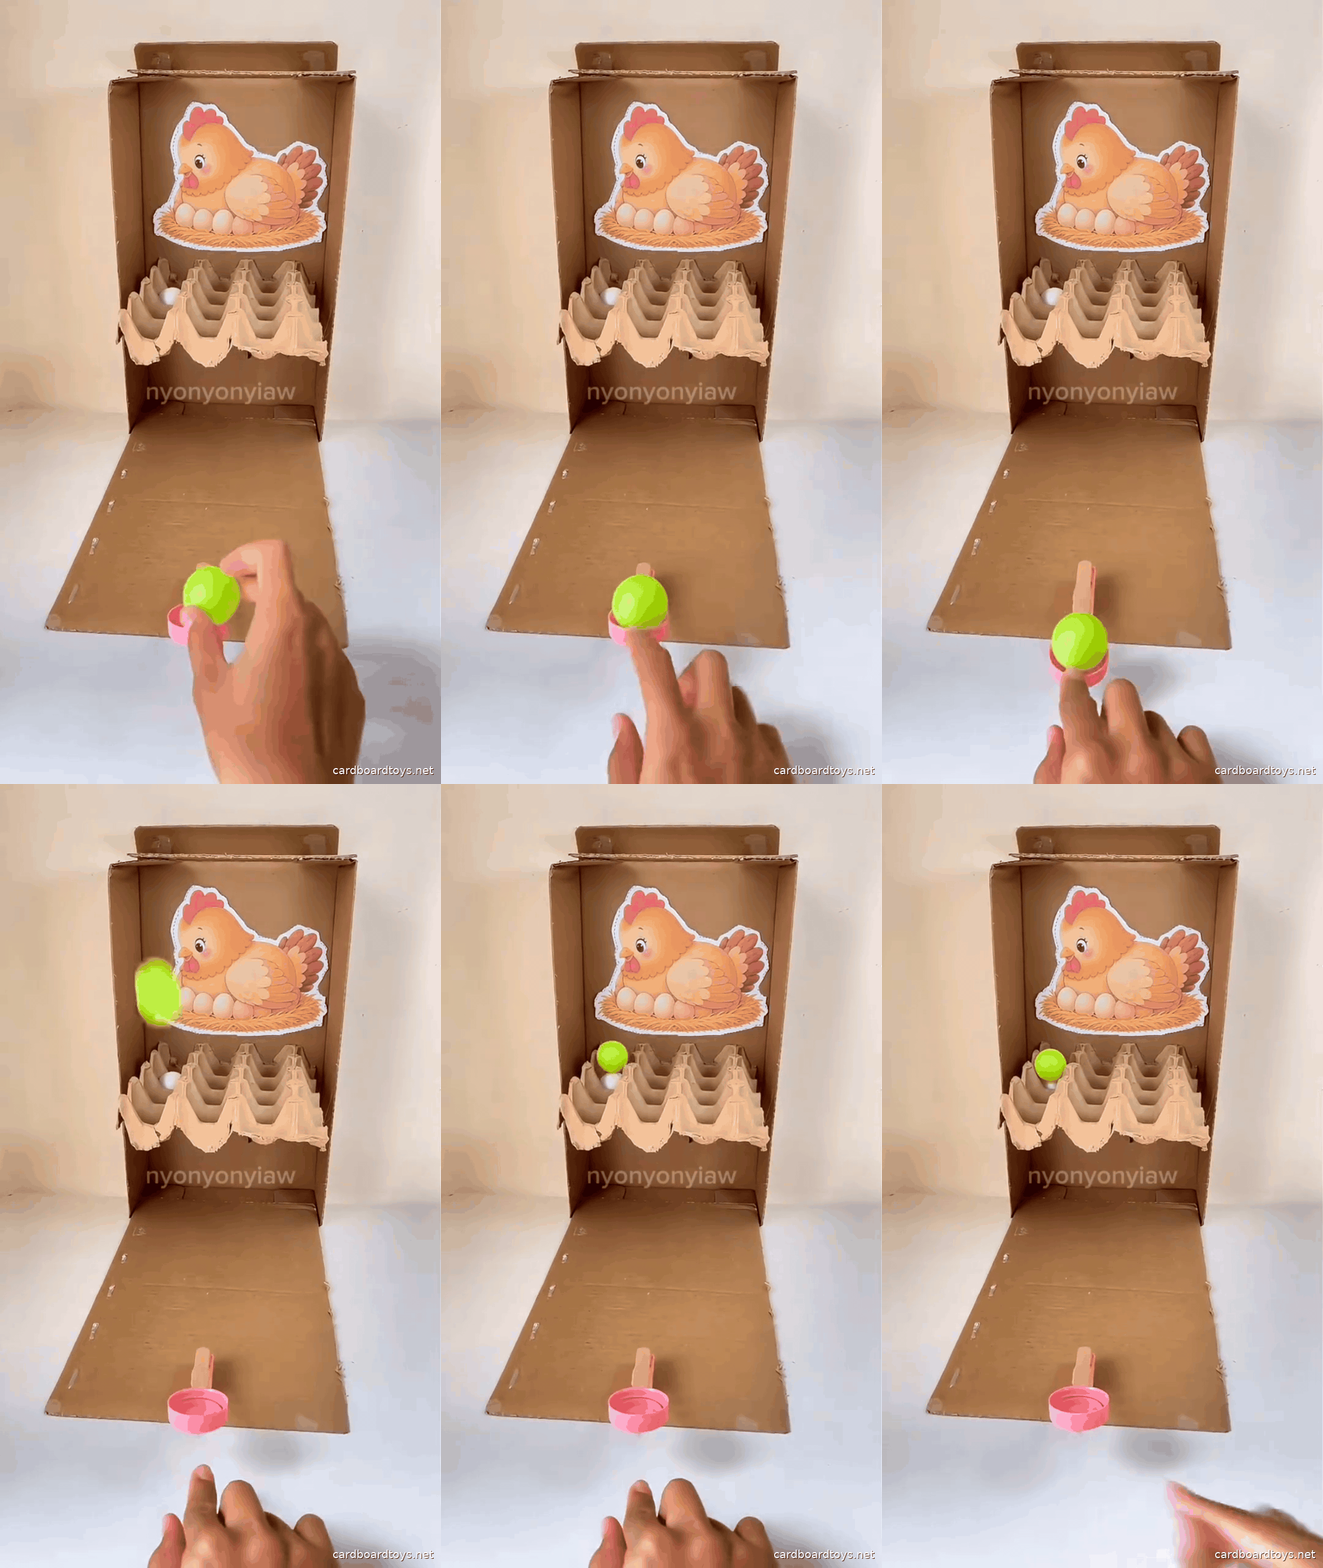
Put one lightweight ball on the cap and keep the other balls aside. Press the cup down gently with one fingertip, staying clear of the spring and jaws. Lift the finger cleanly so the upper arm can snap back. The stick raises the cap and sends the ball toward the nest. The ball should leave the cup freely rather than catching on a glue ridge.
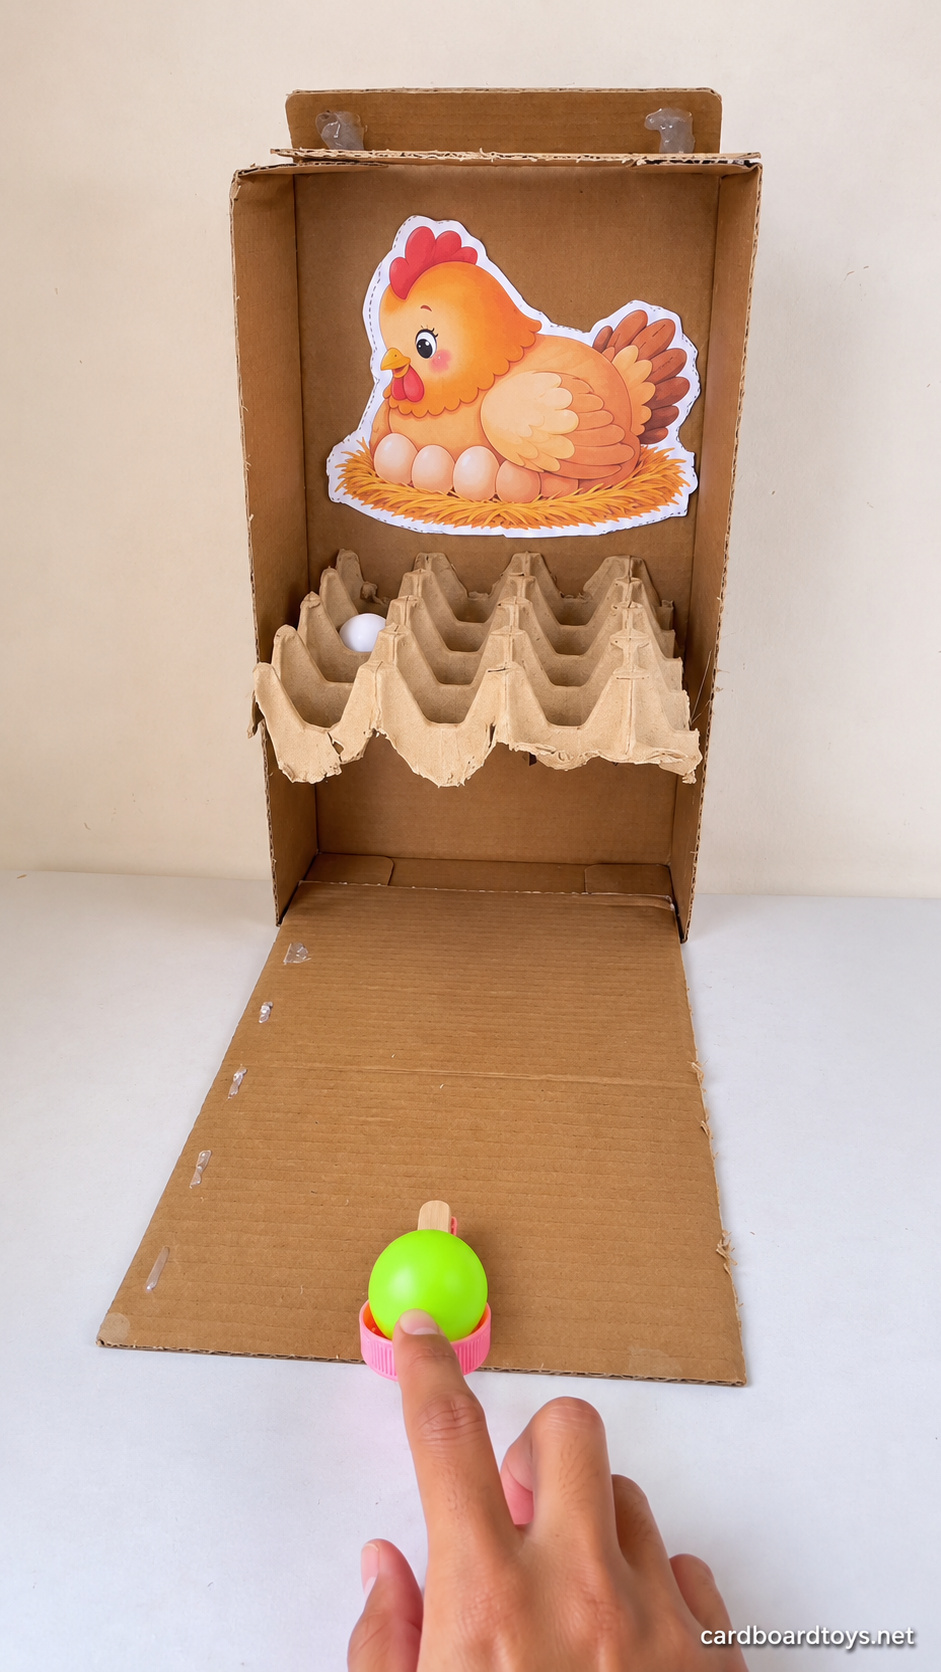
If the ball falls short, increase the press slightly within the peg’s normal travel. If it clears the tray and strikes high on the backboard, reduce the press. Check for a sideways cup or crooked stick if shots repeatedly turn left or right. Keep the base flat and the tray joints still. Take turns with three shots and count one point for each ball that stays in a pocket. Collect the balls after each turn so the next player starts with clear targets.
From the Cap to a Landing Pocket
Safety
An adult should cut the box and brackets, trim rough edges, and perform all hot glue work. Follow the glue gun instructions, use its stand on a protected dry surface, keep hands clear of the nozzle and molten adhesive, and unplug it after use. Let every joint cool before handling the toy. Keep fingers out of the clothespin jaws and spring. The loose cap and small balls are choking hazards, so keep the parts and finished game away from children under three and anyone who puts objects in their mouth. Supervise play, use only lightweight balls, and aim at the target with people clear of the flight path. Stop playing if the tray loosens, the cap lifts or the stick splinters.